OUTDOOR AREA TRANSFORMATION
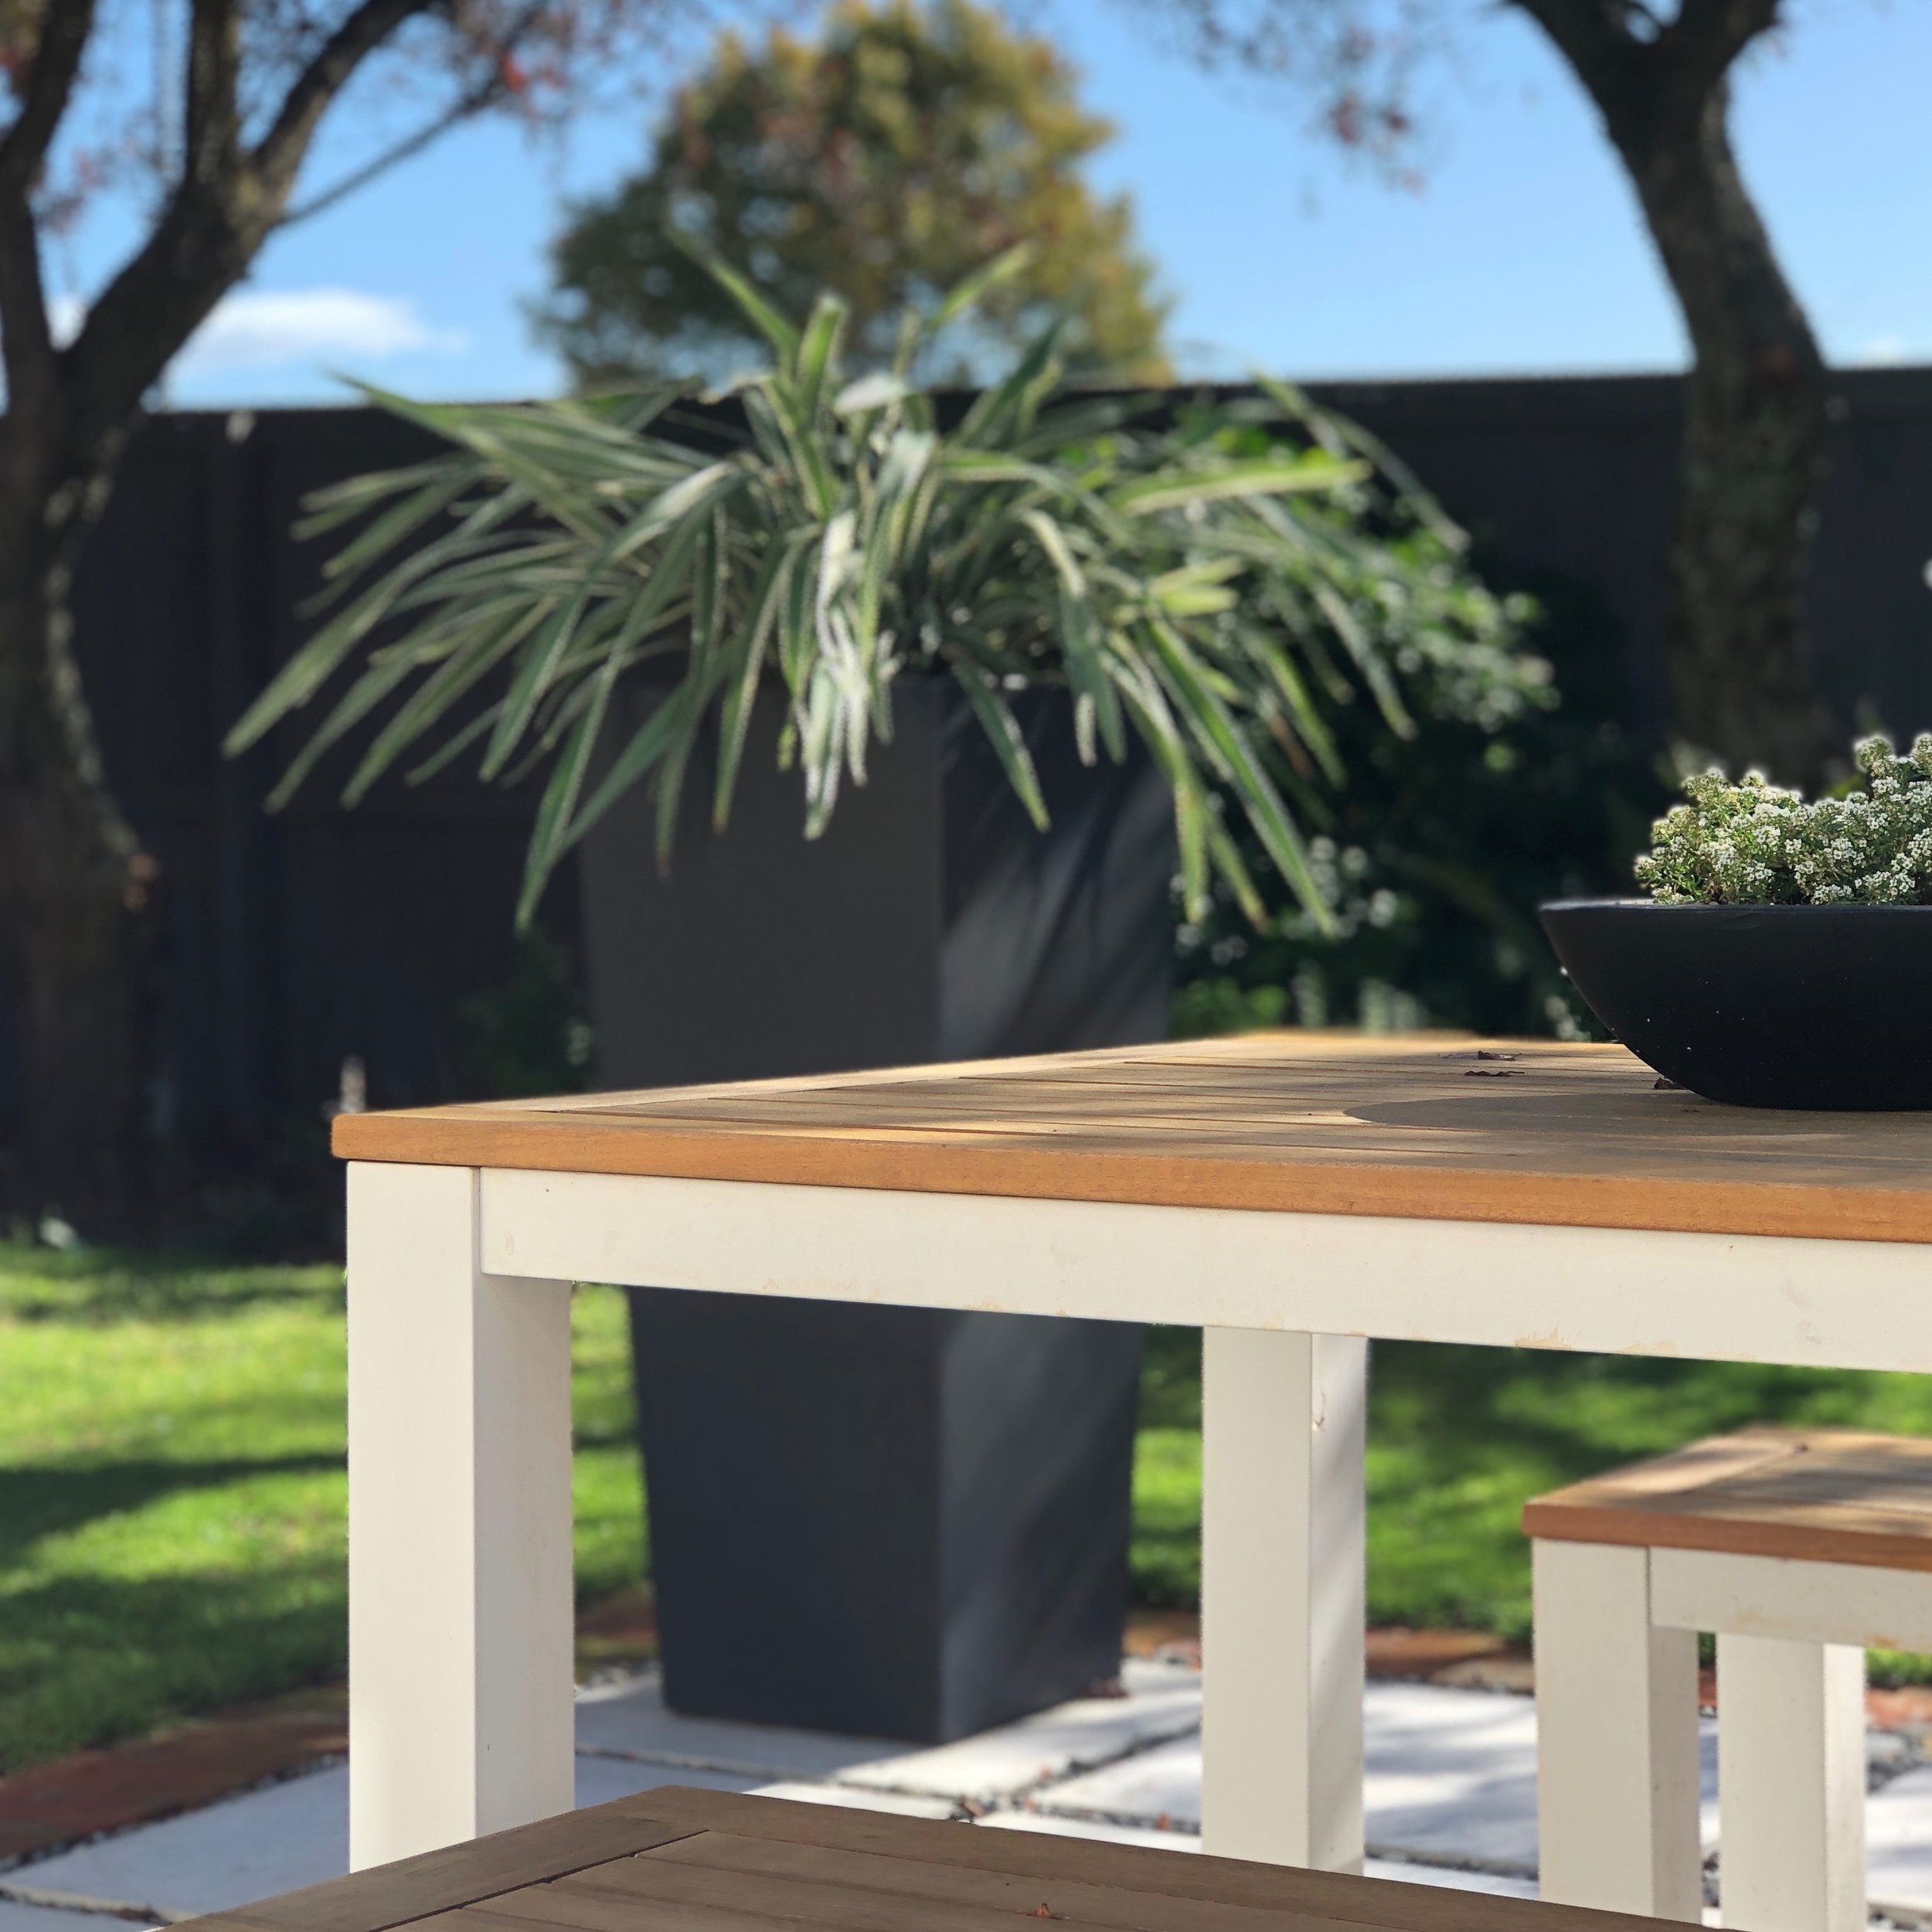
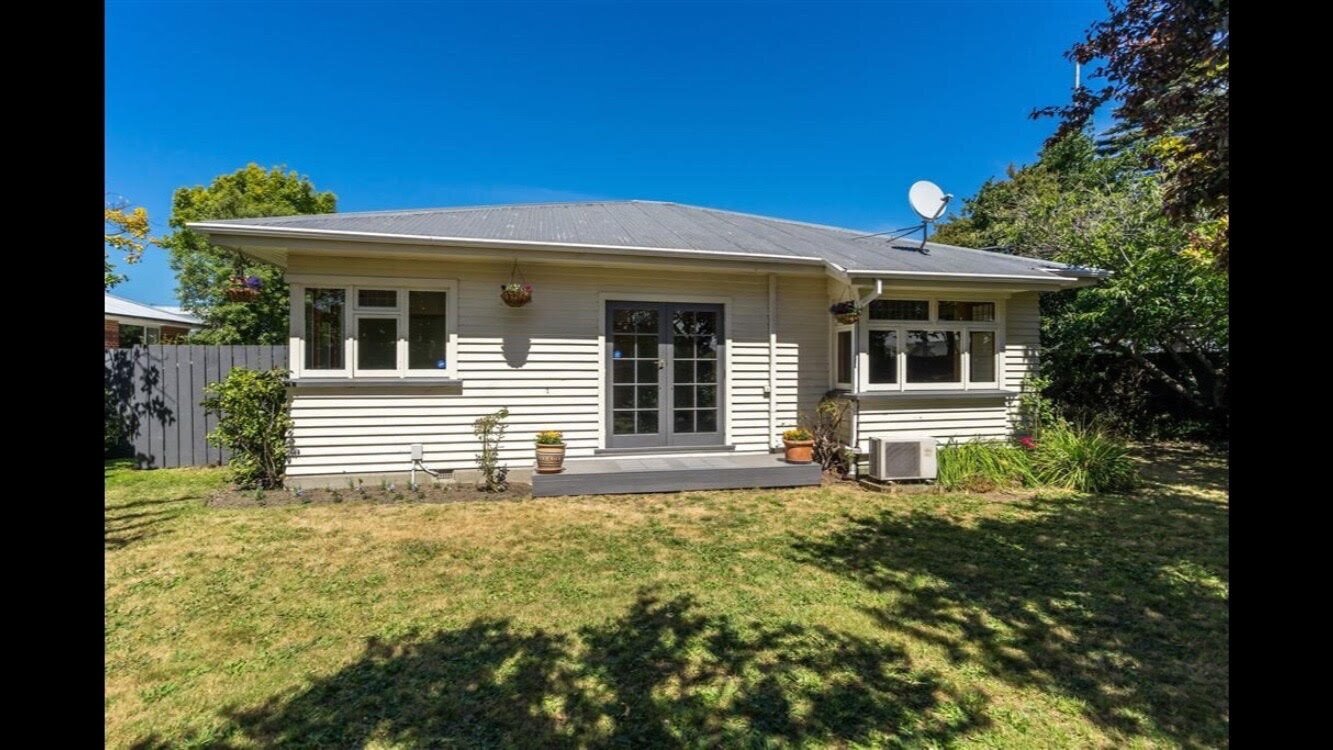
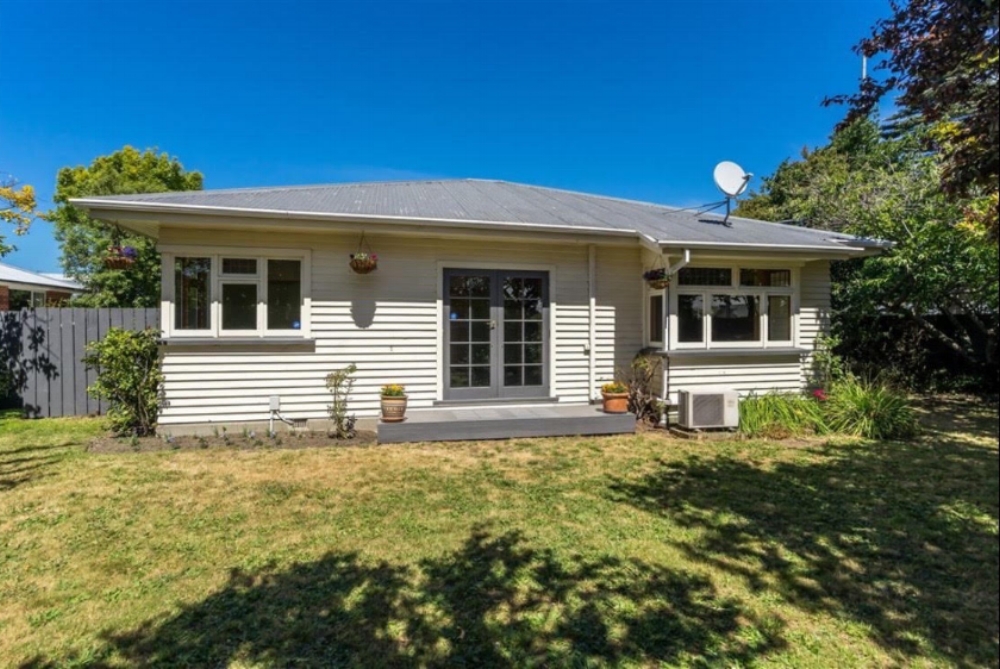
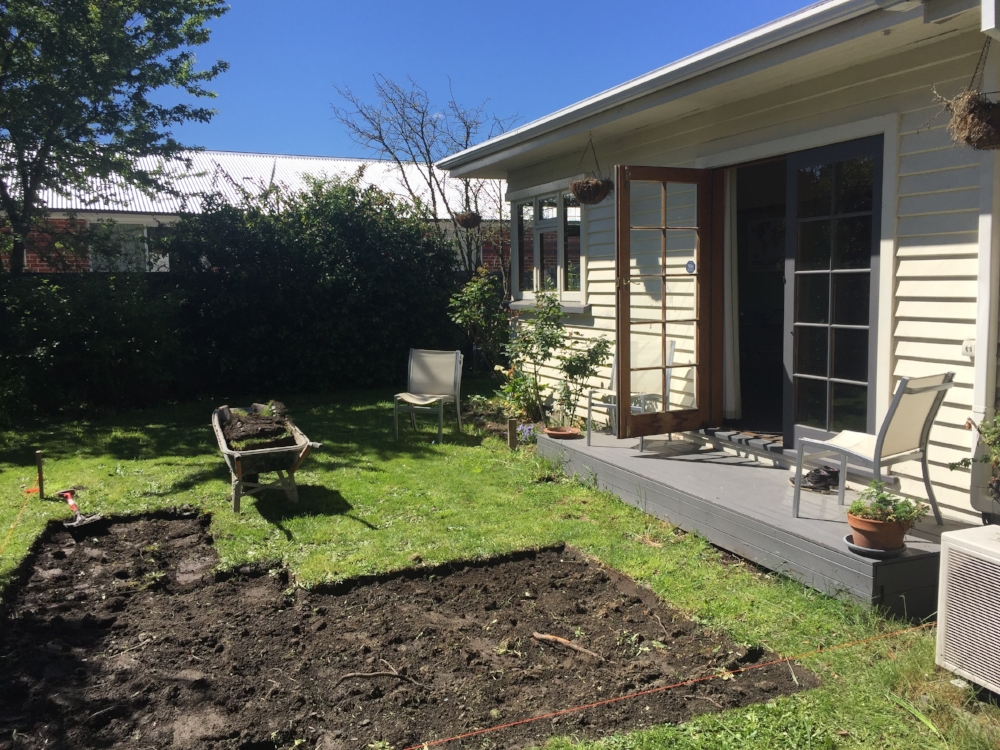
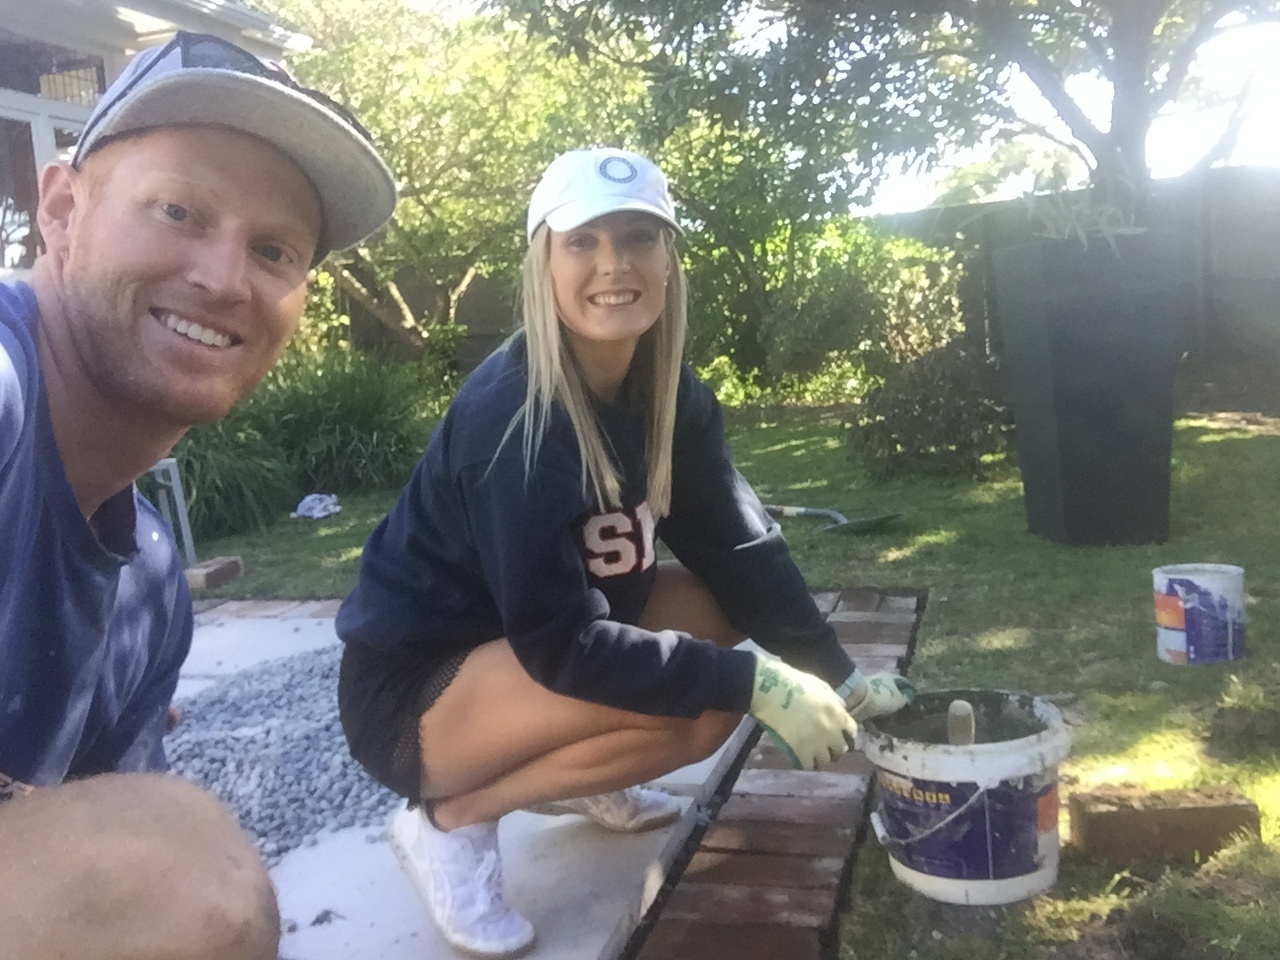
Decking, Pavers, Concrete, Stones, Grass, there are so many options for outdoor areas. We had such a blank canvas which was great! But at the same time it meant we have to plan from the beginning to ensure we created an intimate area and not just a large space. Due to being on a corner section we chose pavers over decking for two reasons, firstly they are lower to the ground so better to combat road noise & secondly are a much cheaper alternative for what we think is still a beautifully finished look.
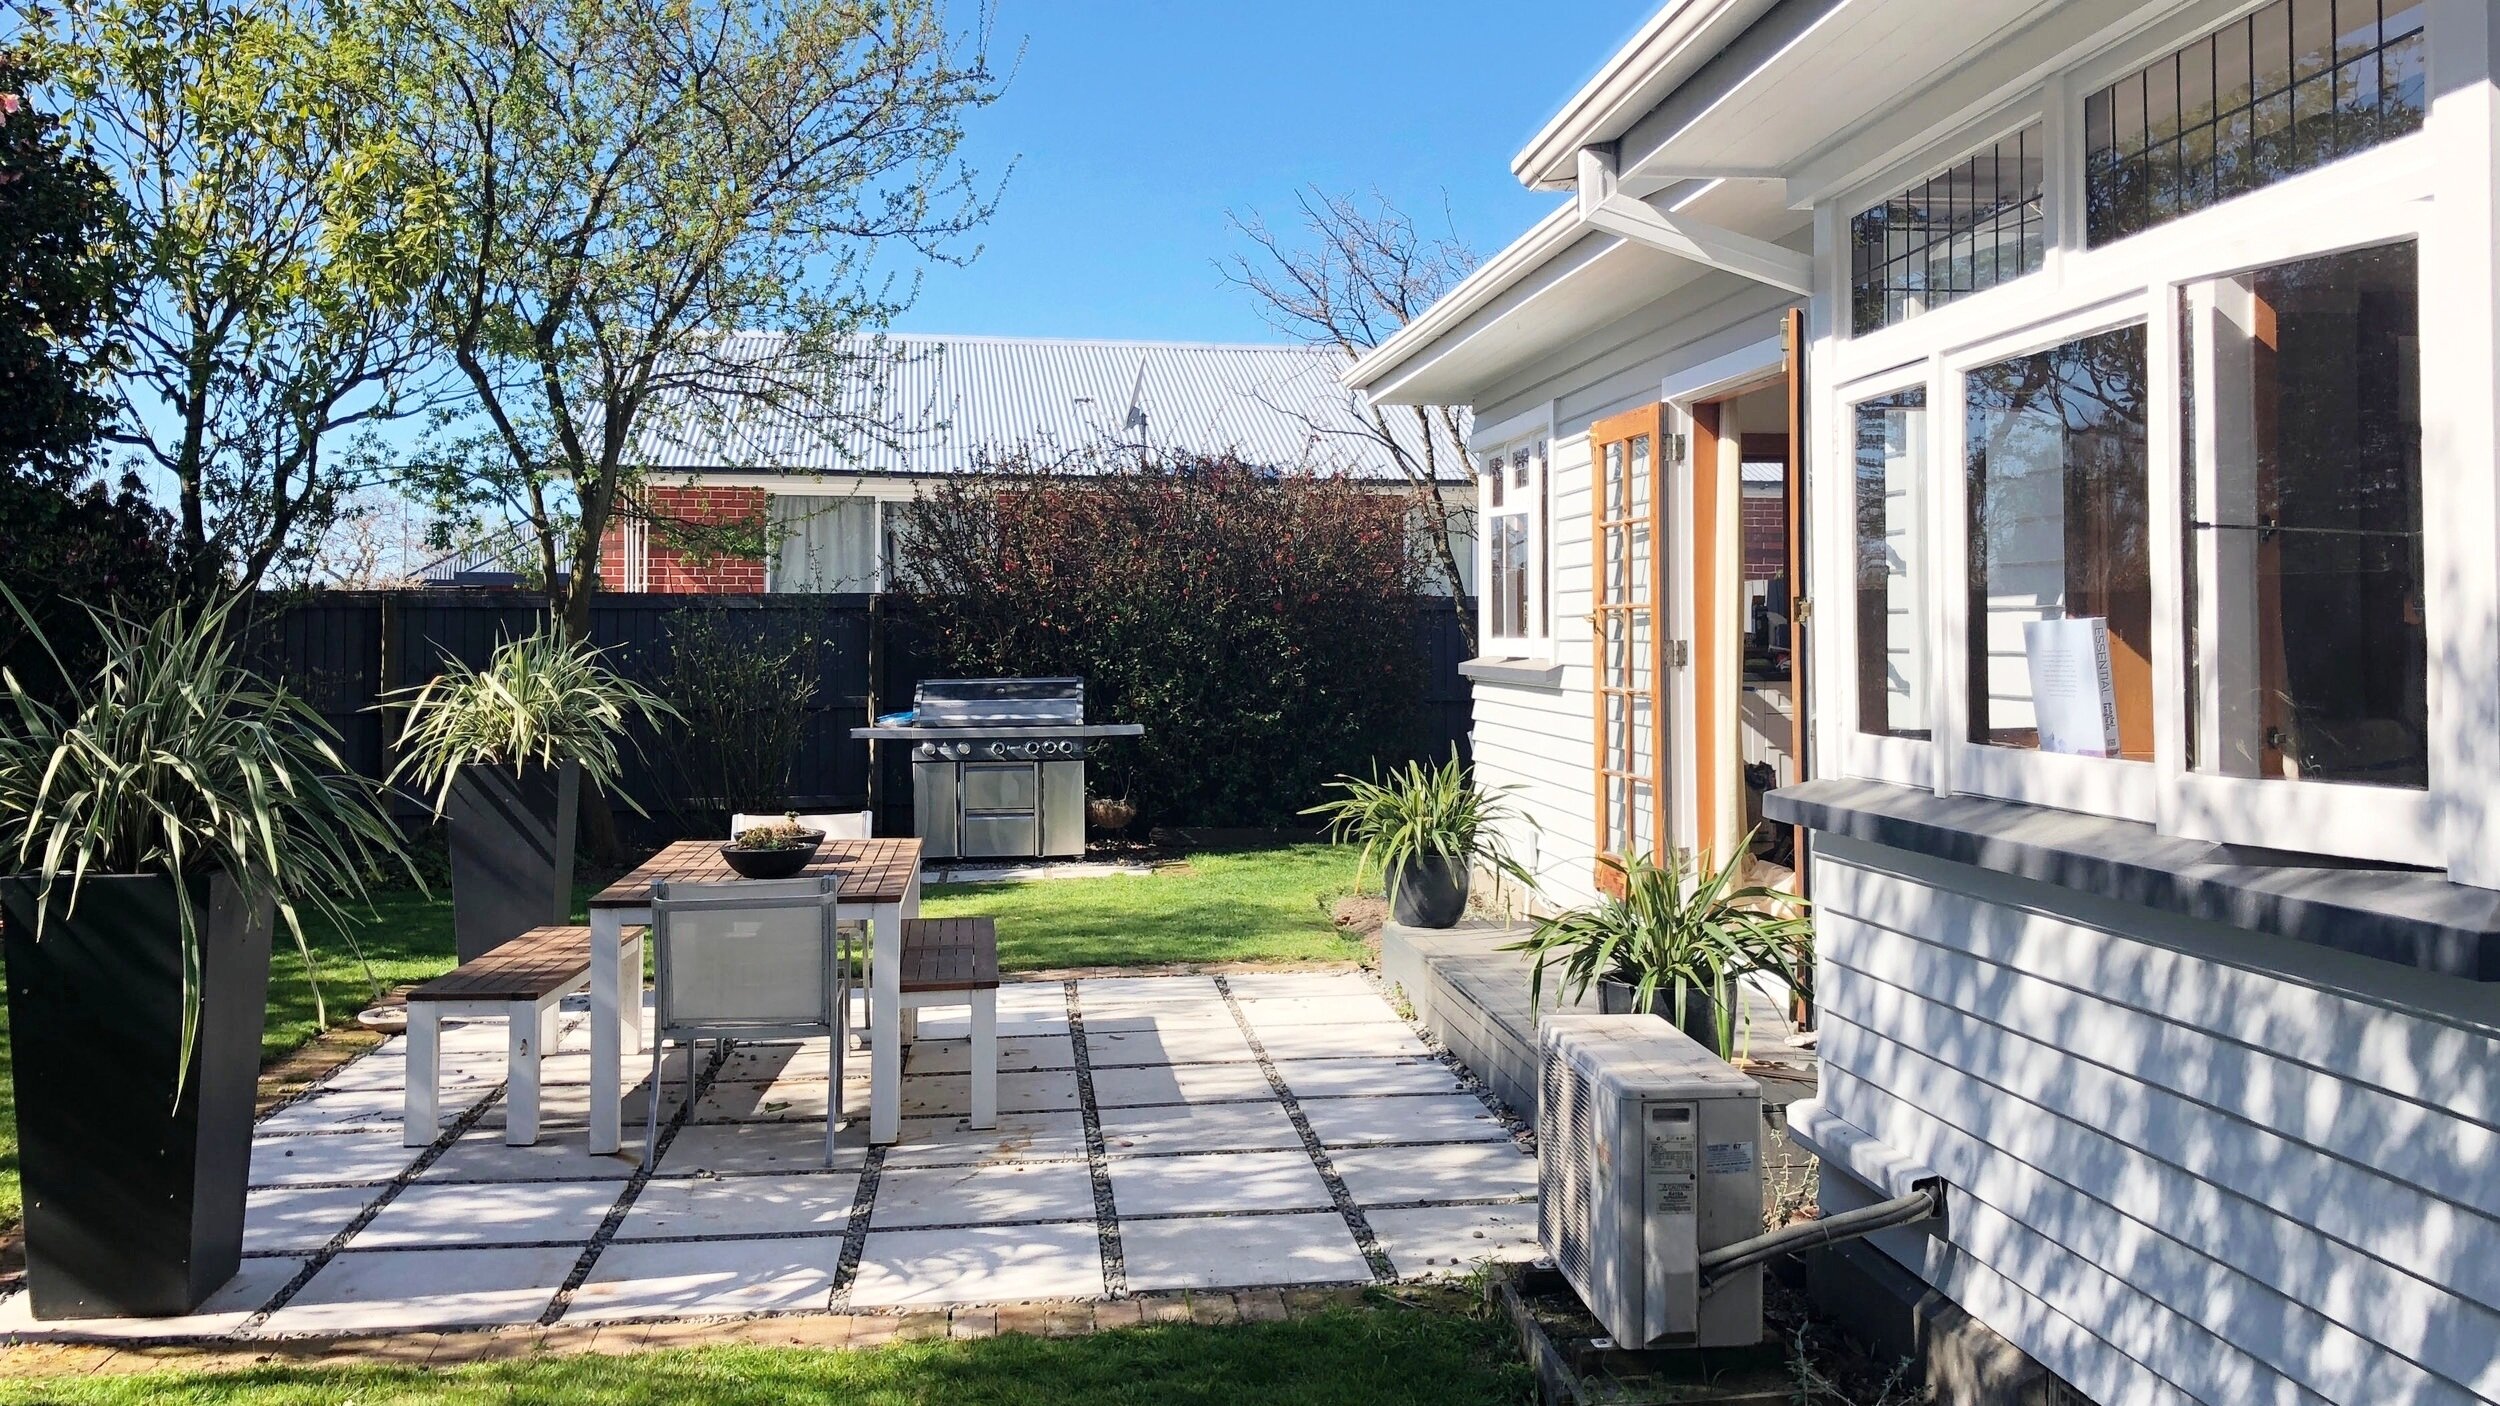

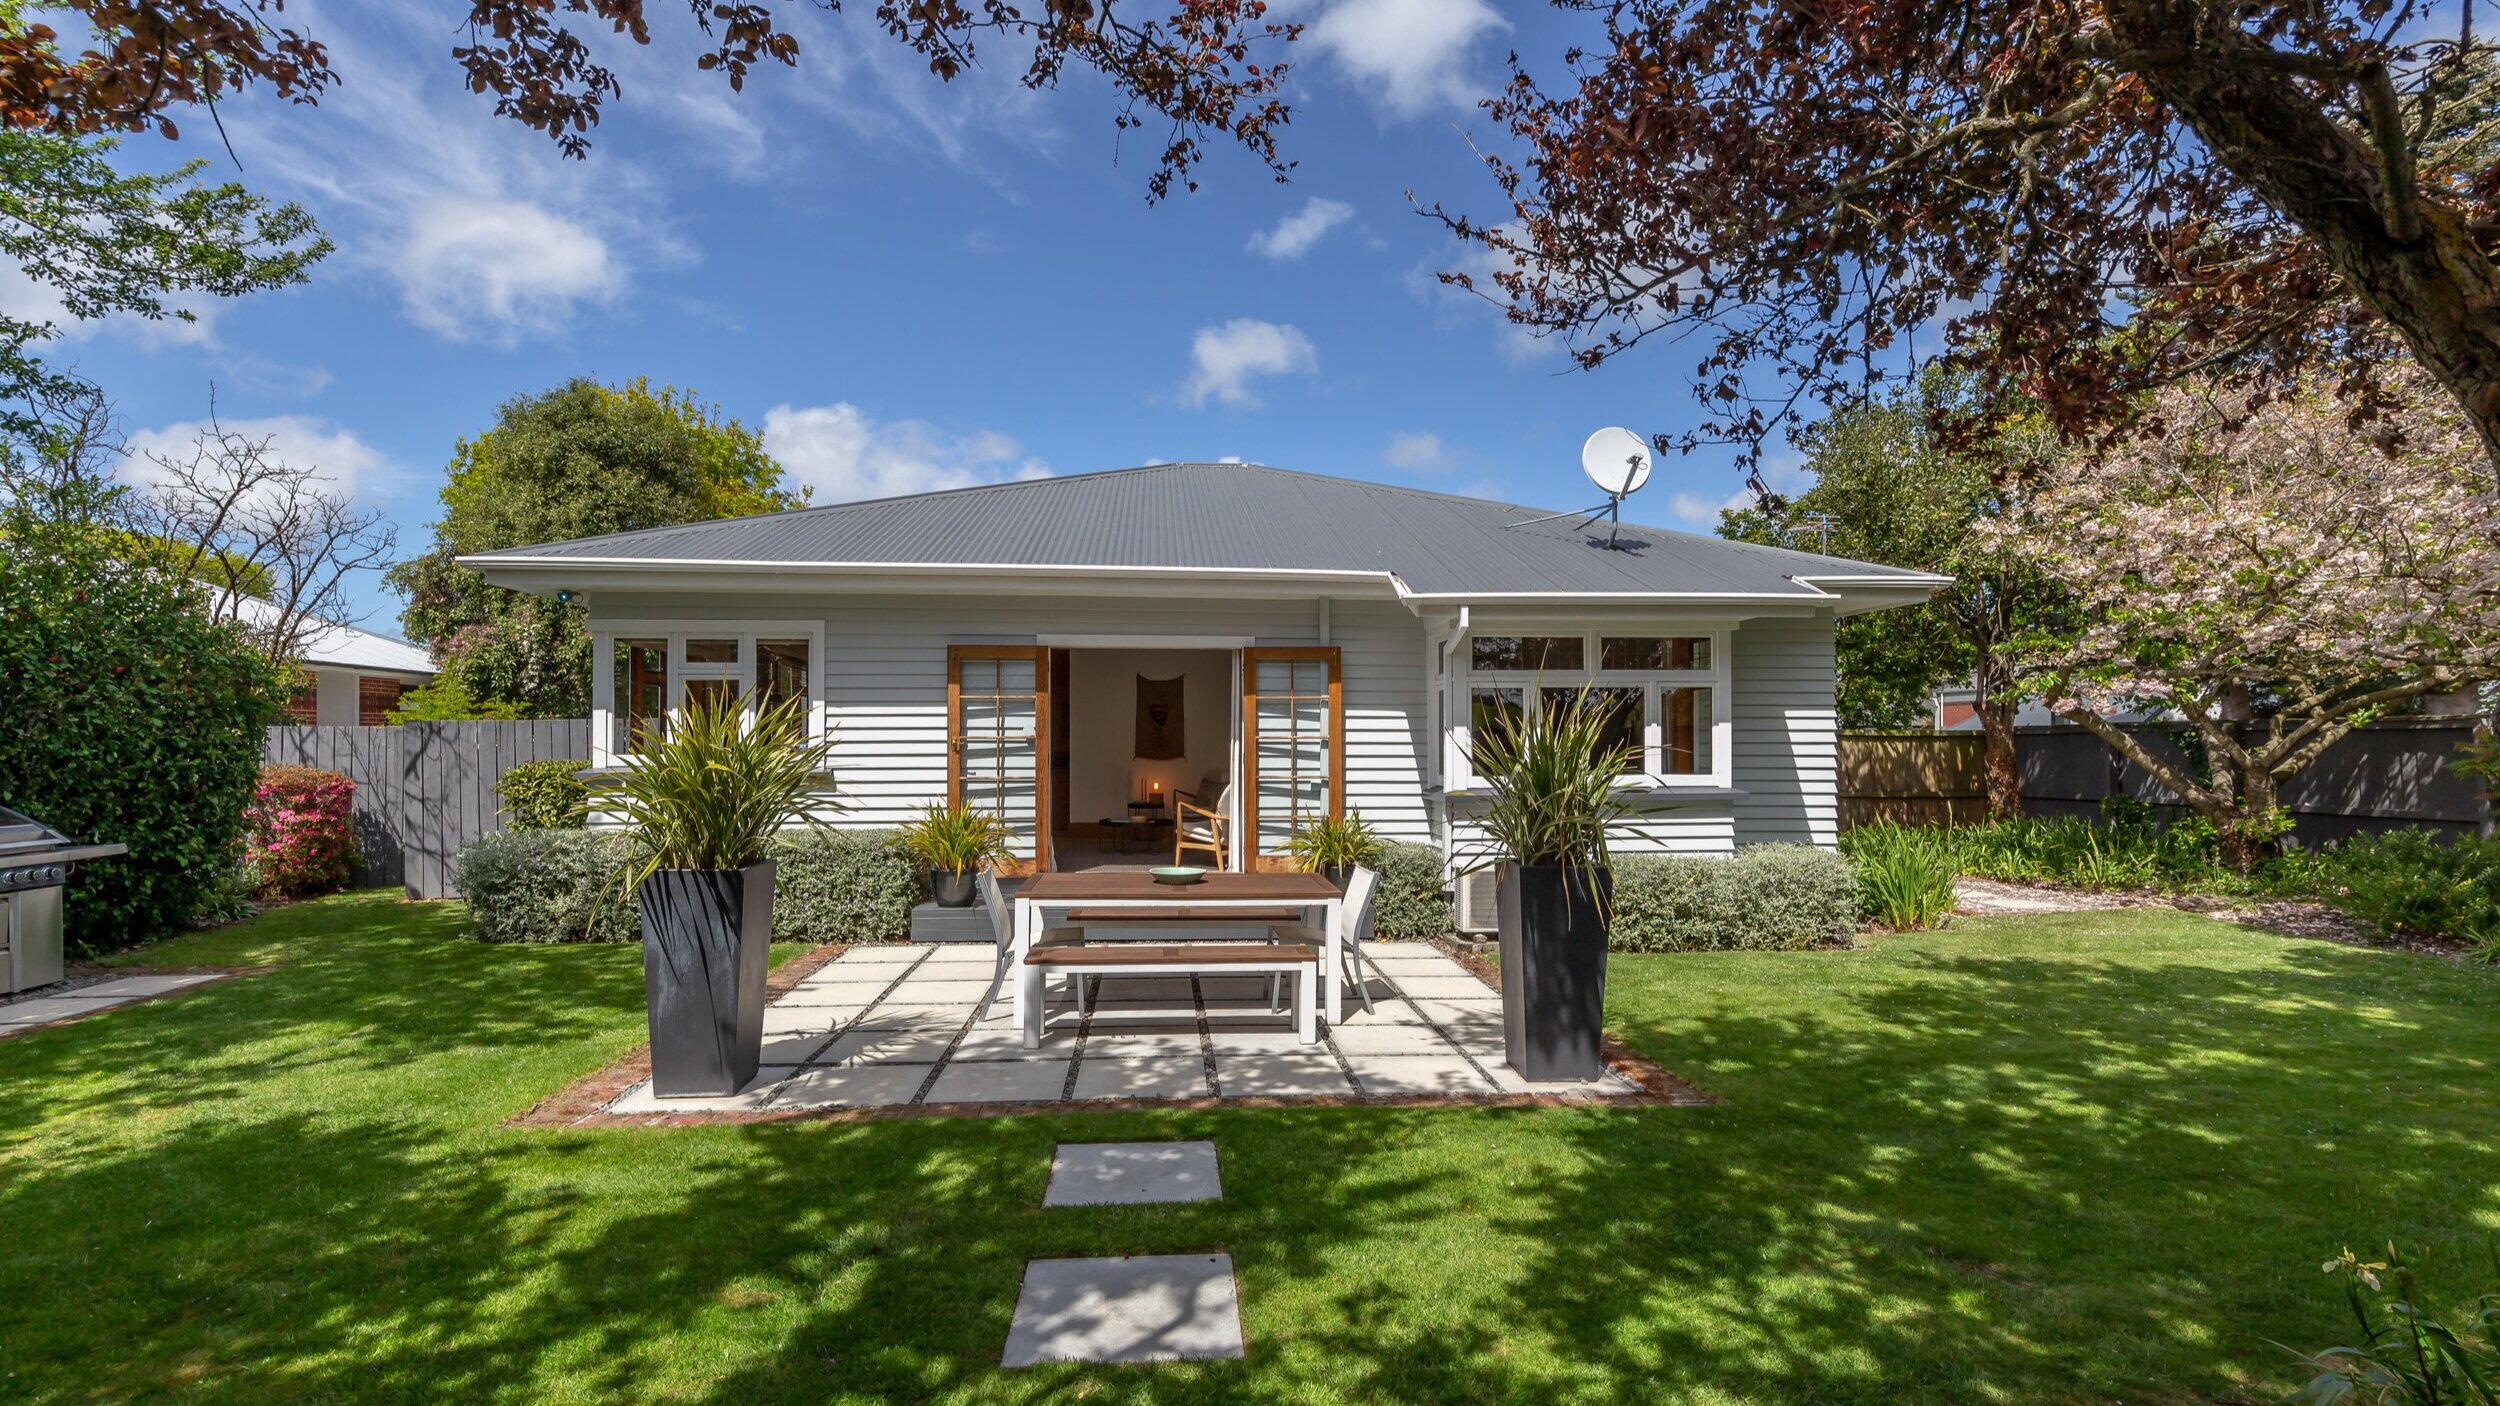
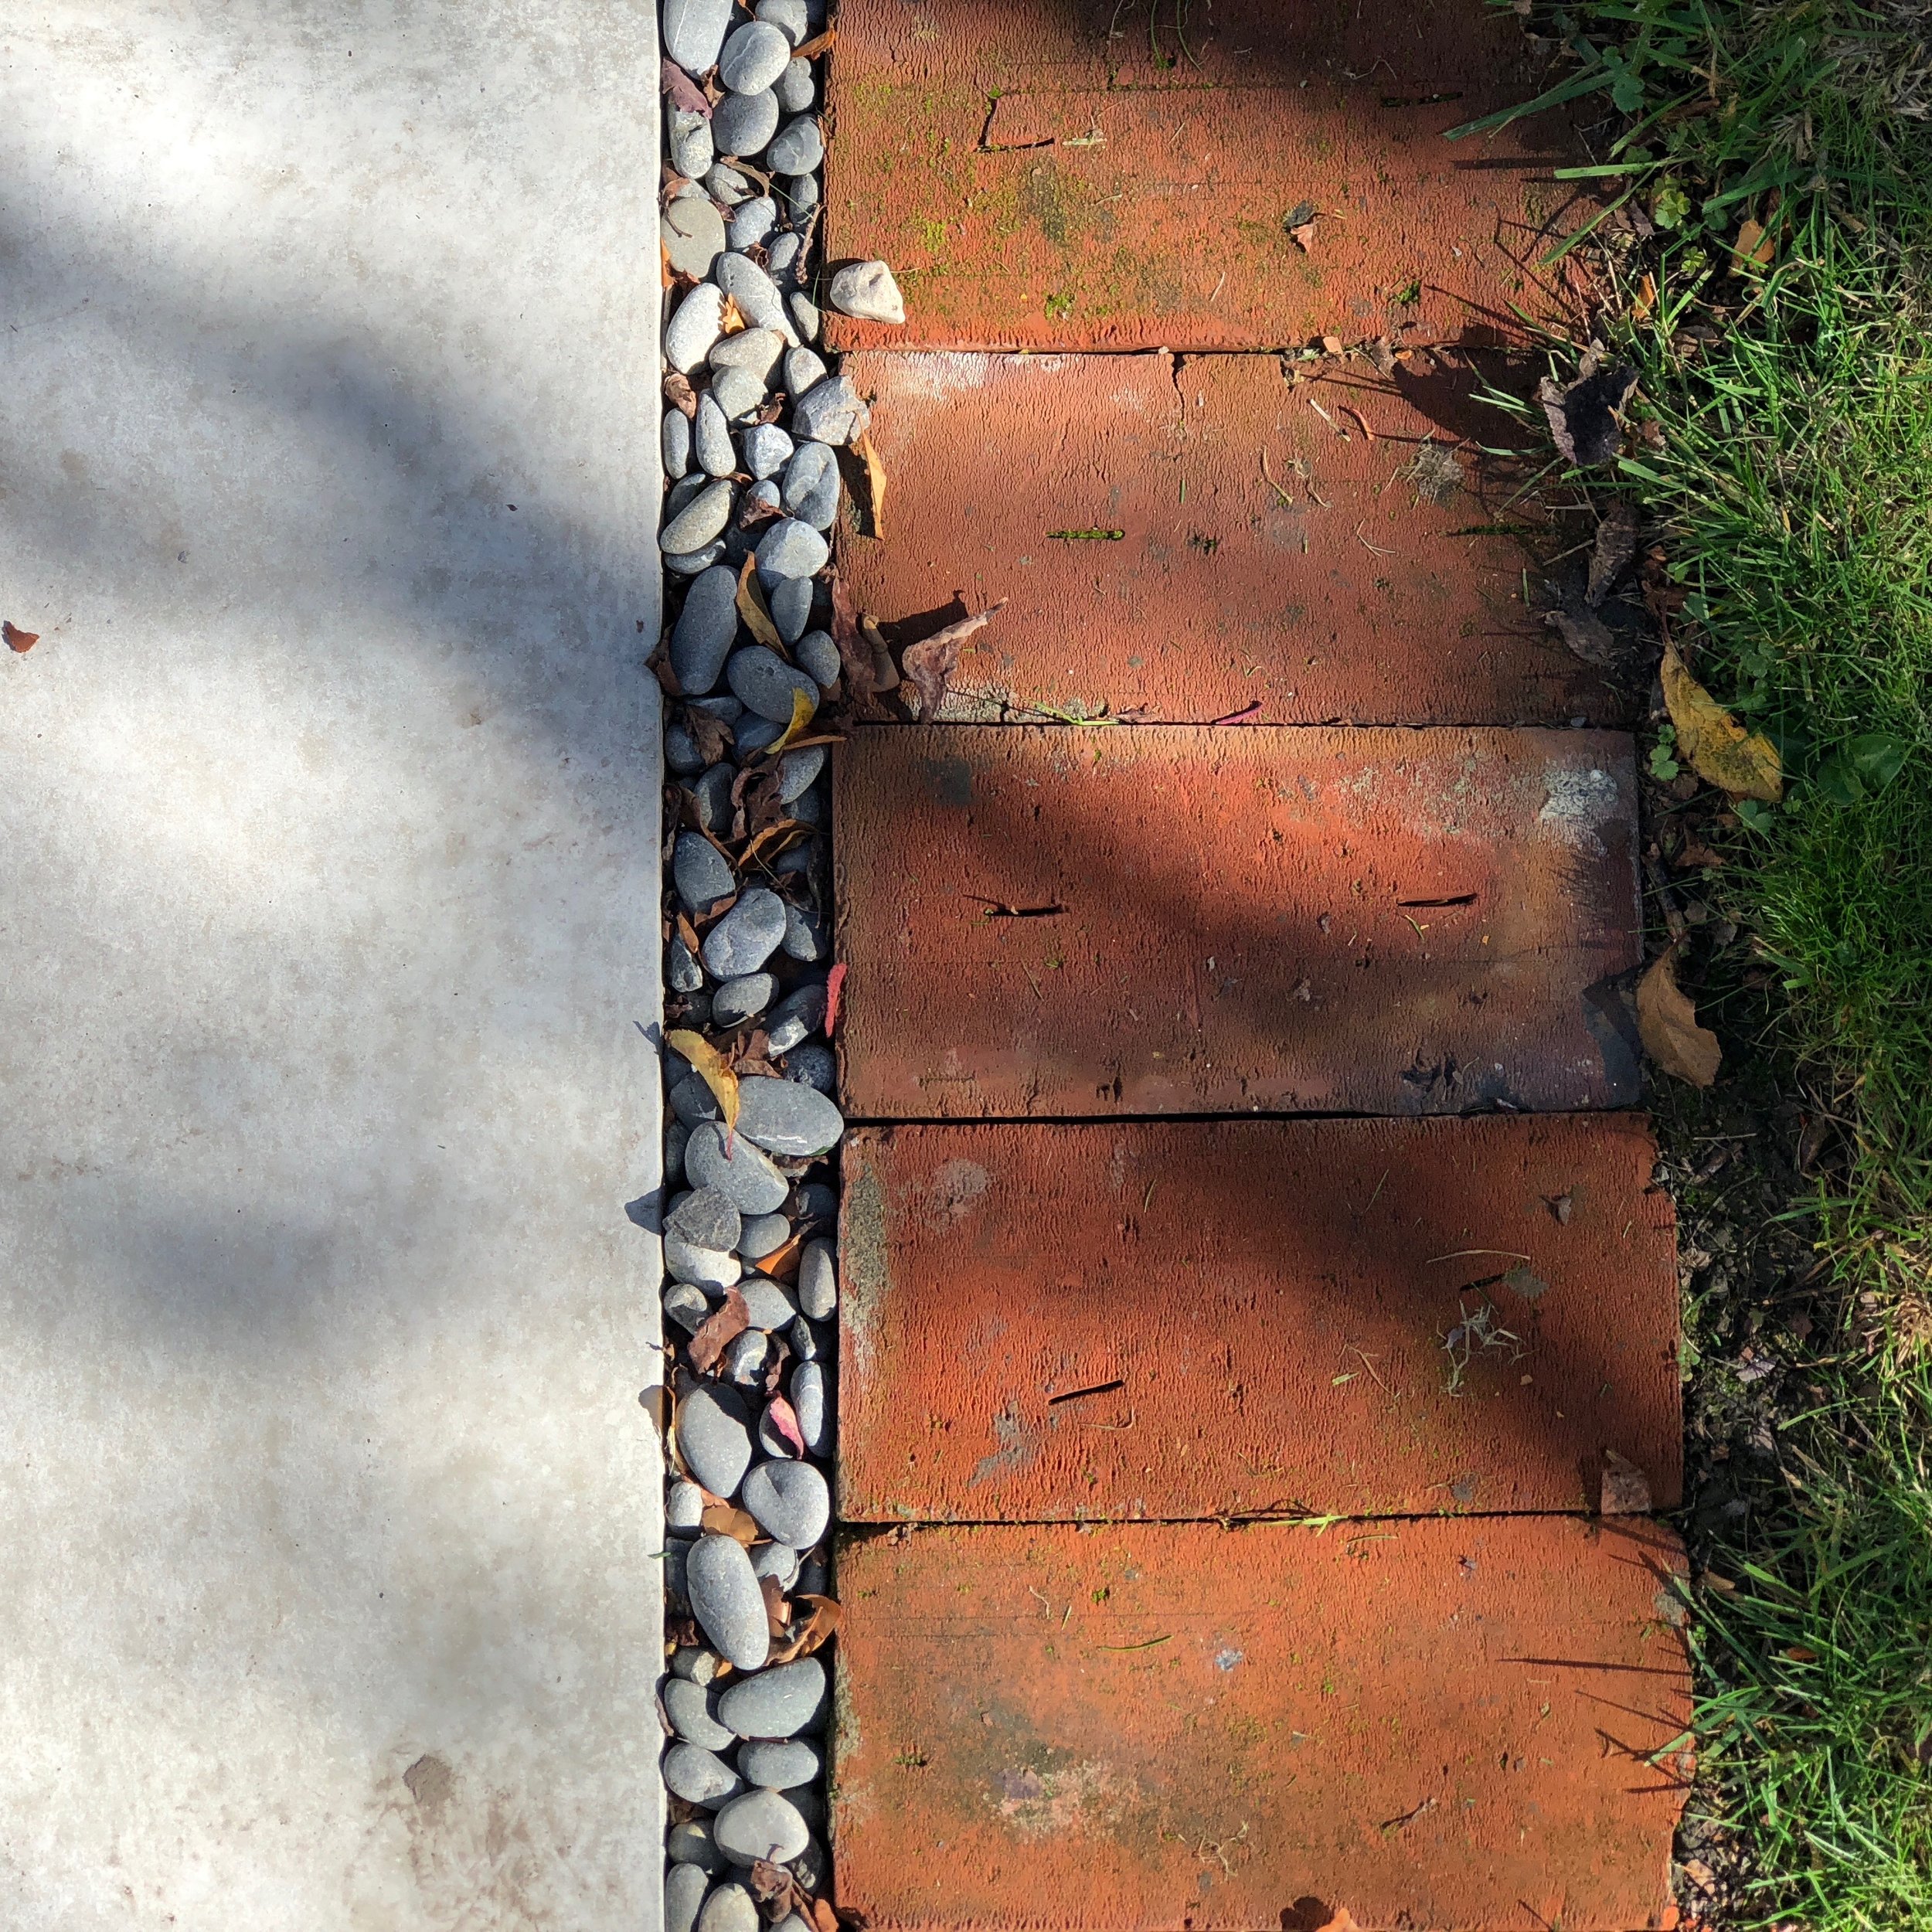
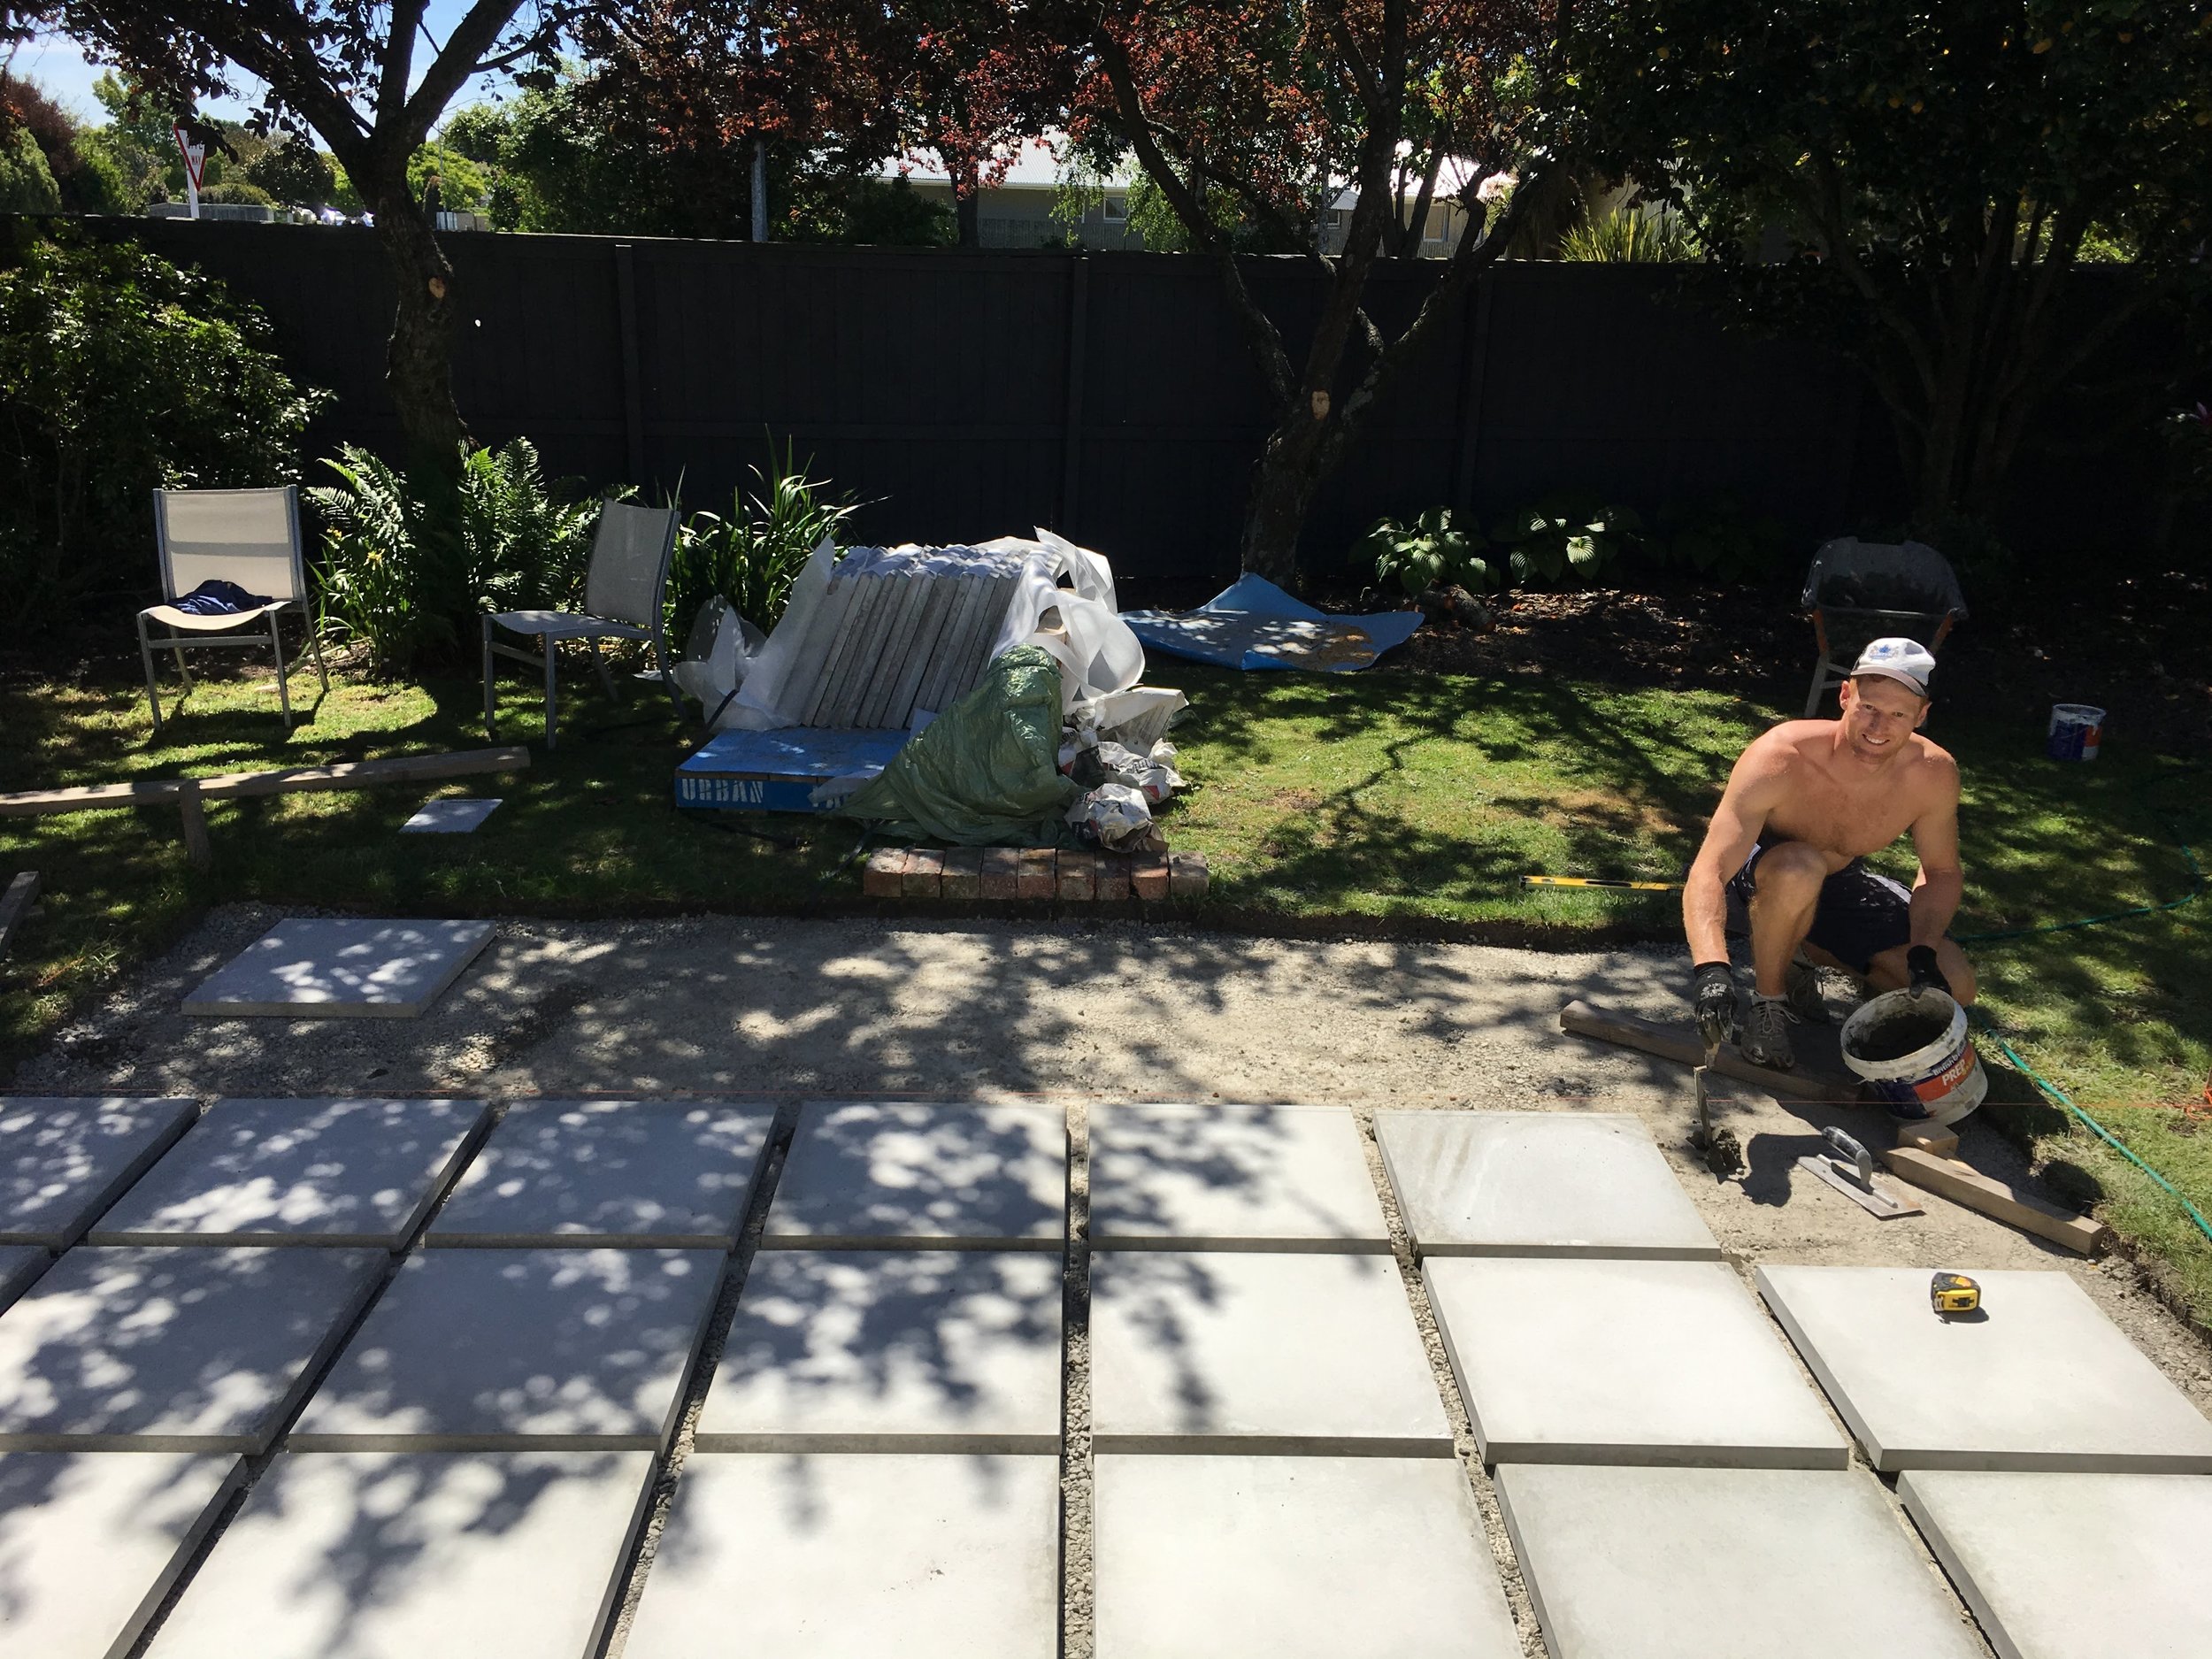
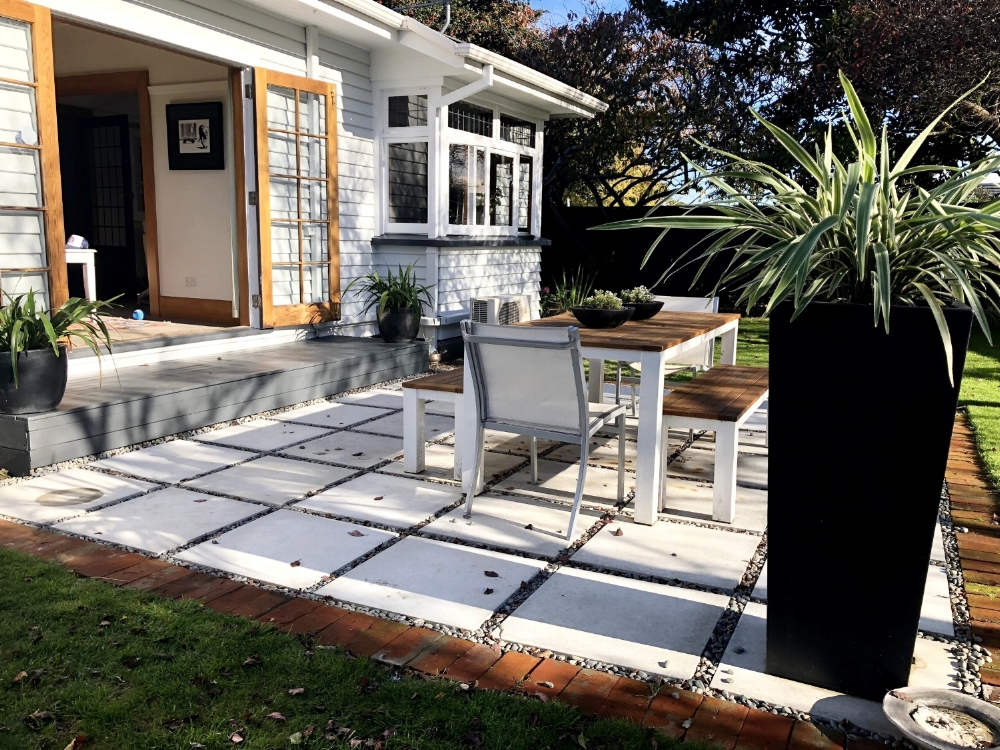
The pavers we chose were ‘Smooth Natural’ 600 x 600 by Urban Paving, the gaps in-between were a favourite of ours after hours of research we loved how it added another dimension and texture to our look, although our initial plan was to go for black stones we decided the overall look suited the natural better - plus $62 for two whole scoops!
STEPS
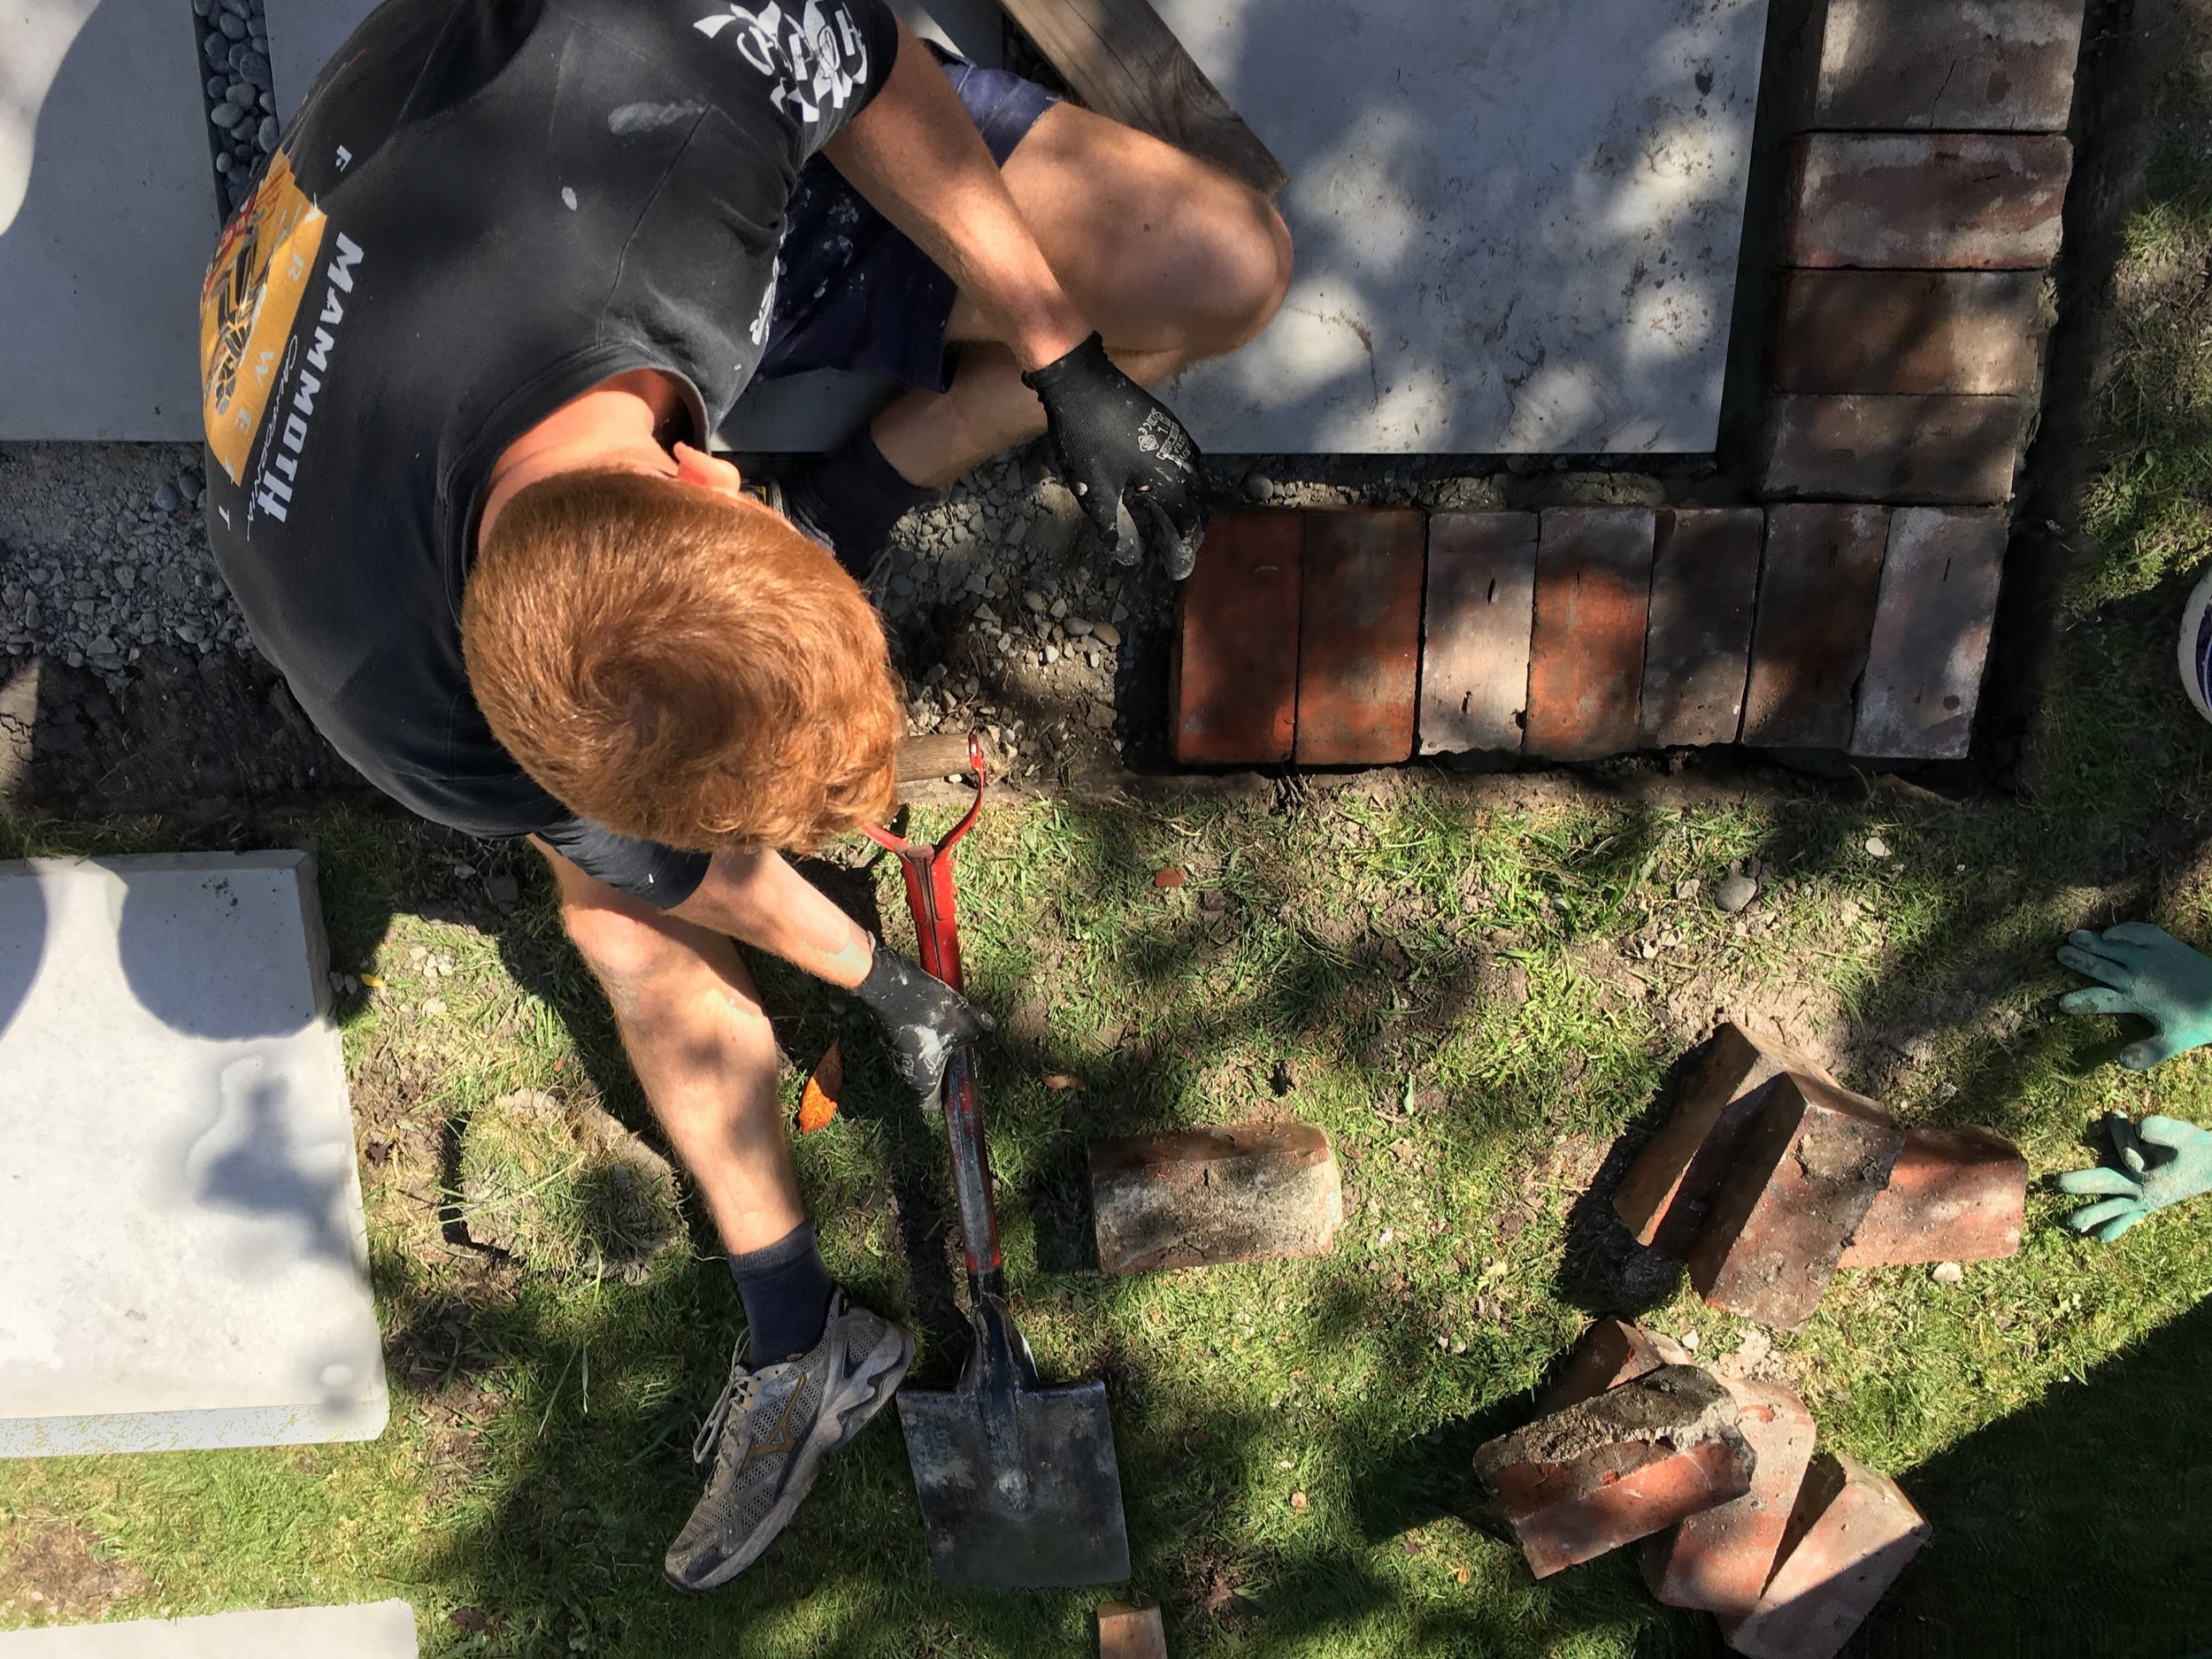
Dig out topsoil to required depth. Take into account paver depth, mortar and base-course.
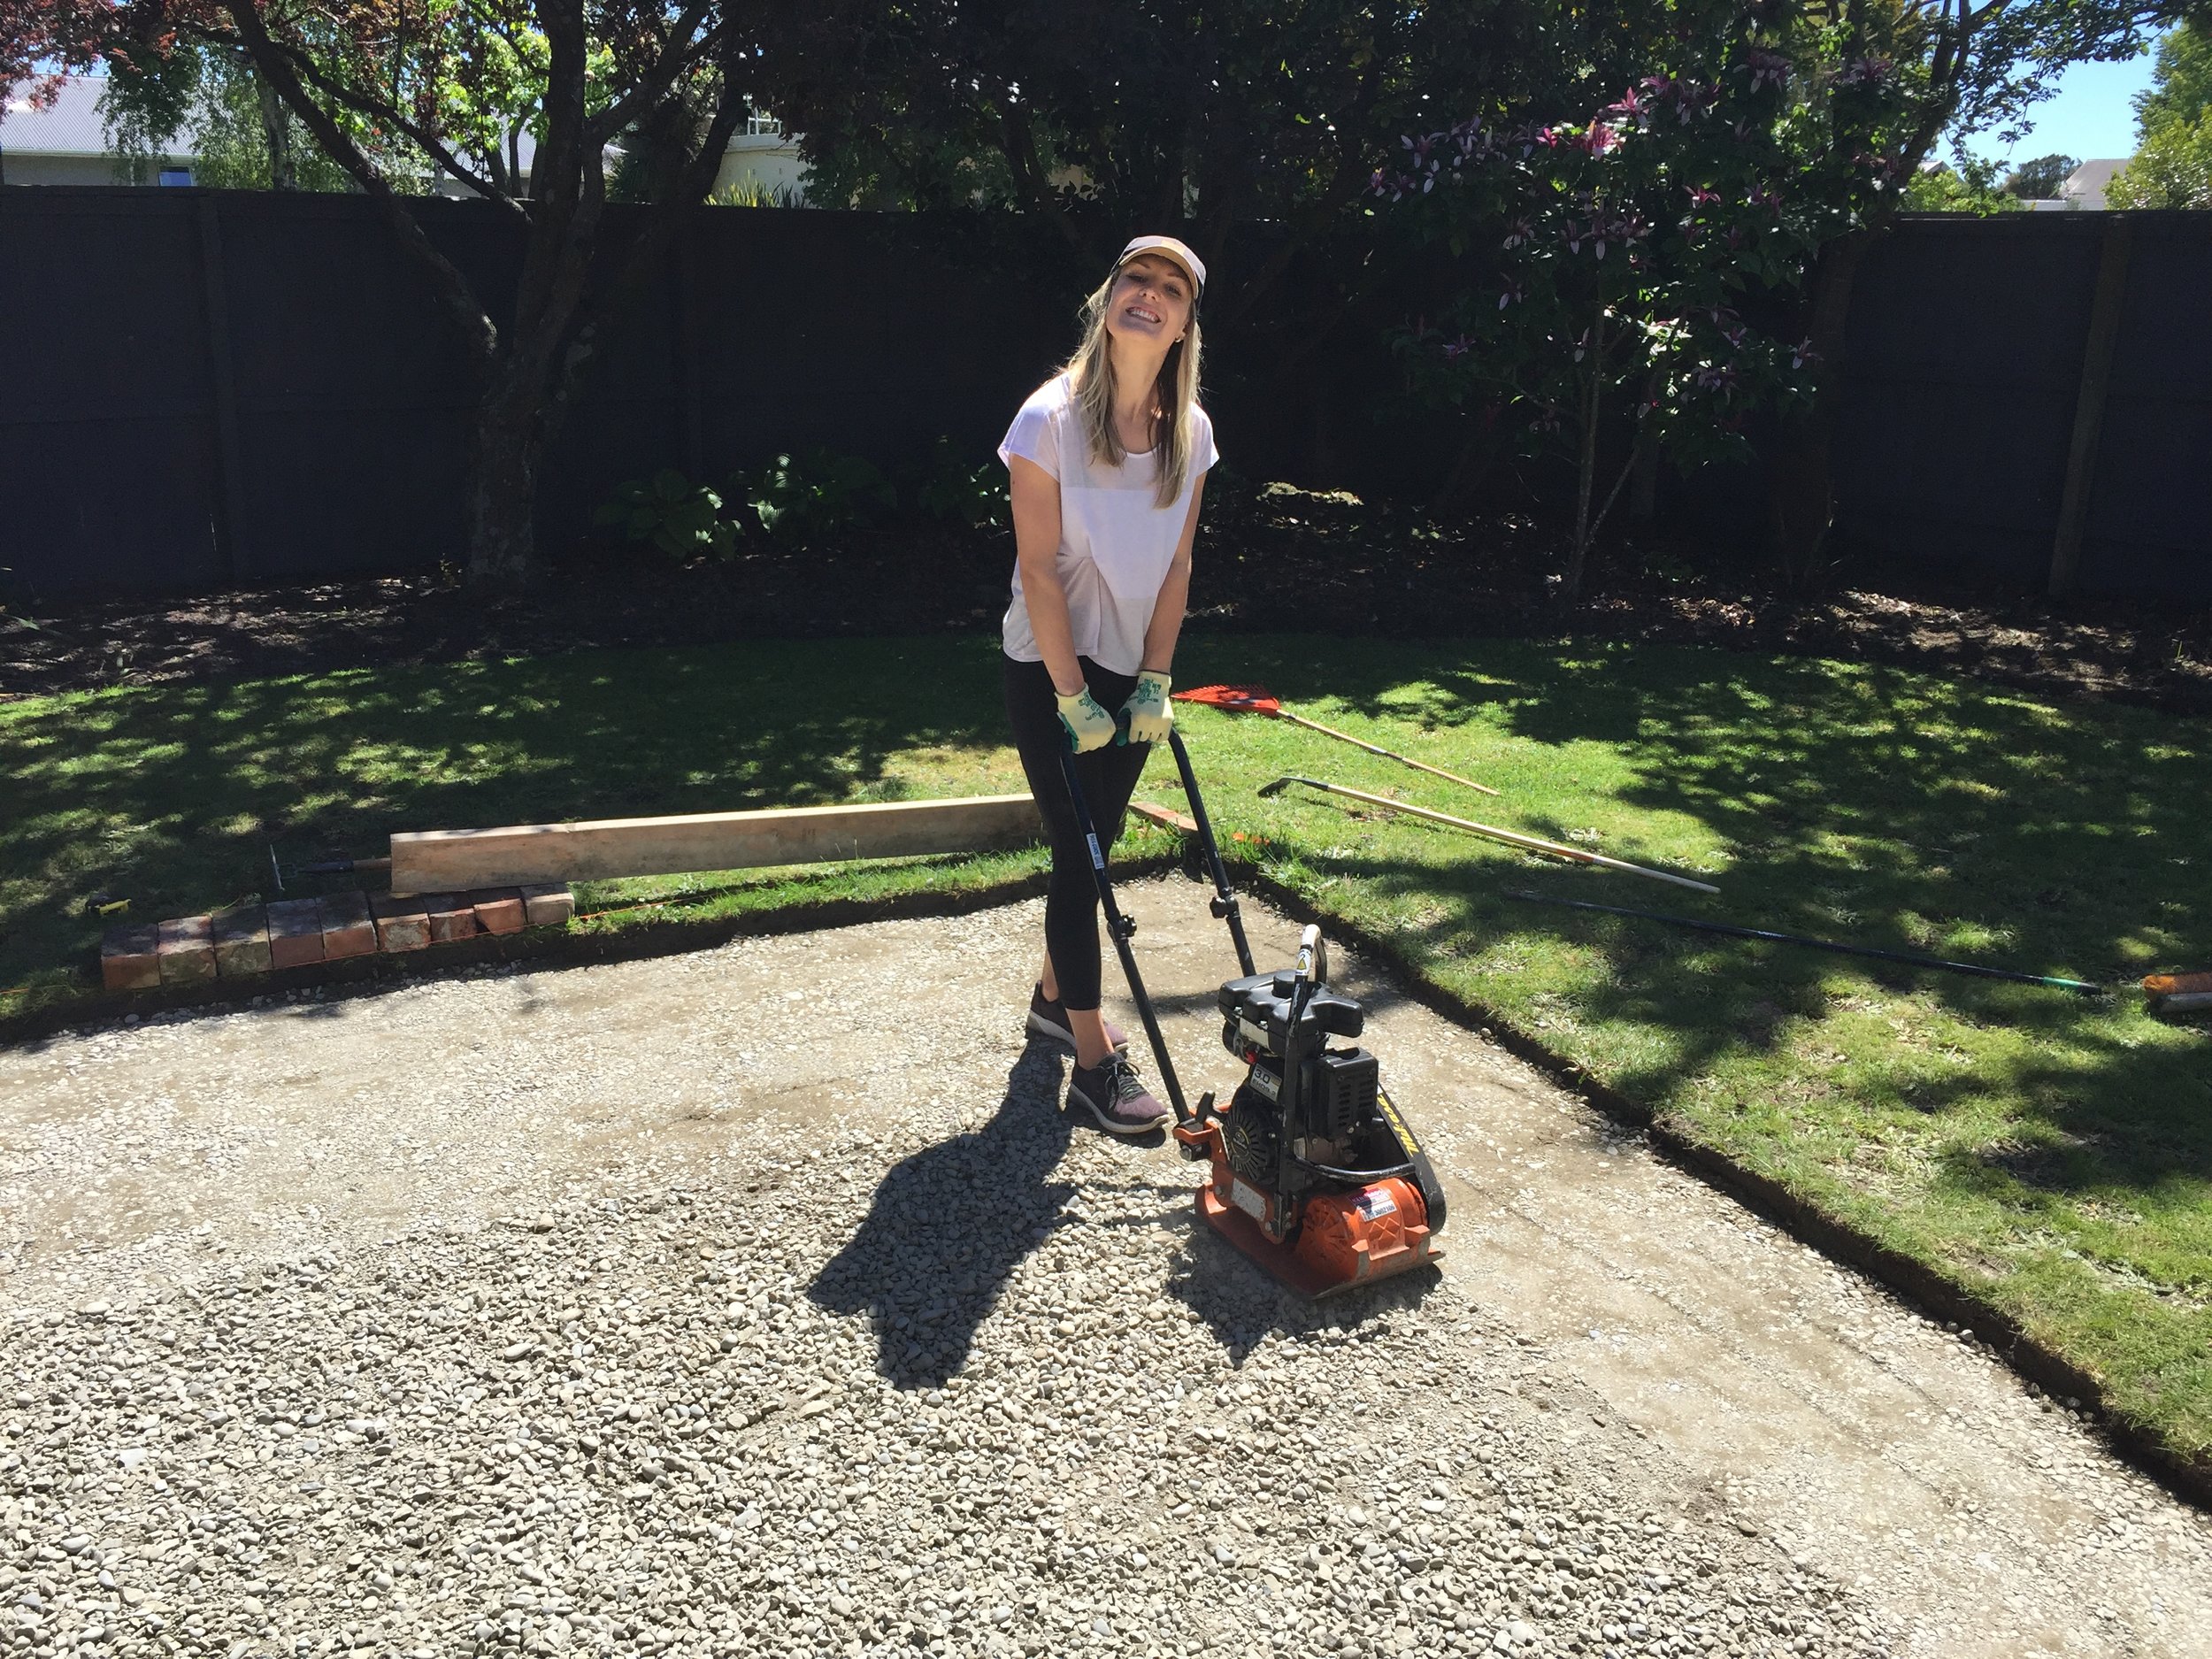
Put down Aggregate base-course AP20 and compact, this ensures a solid foundation to lay the pavers. The more time spent getting this level makes laying easier!
Lay pavers using mortar, Tip= set-up string lines to keep laying in a straight line. Use a level each payer
Lay border, we decided to use old bricks
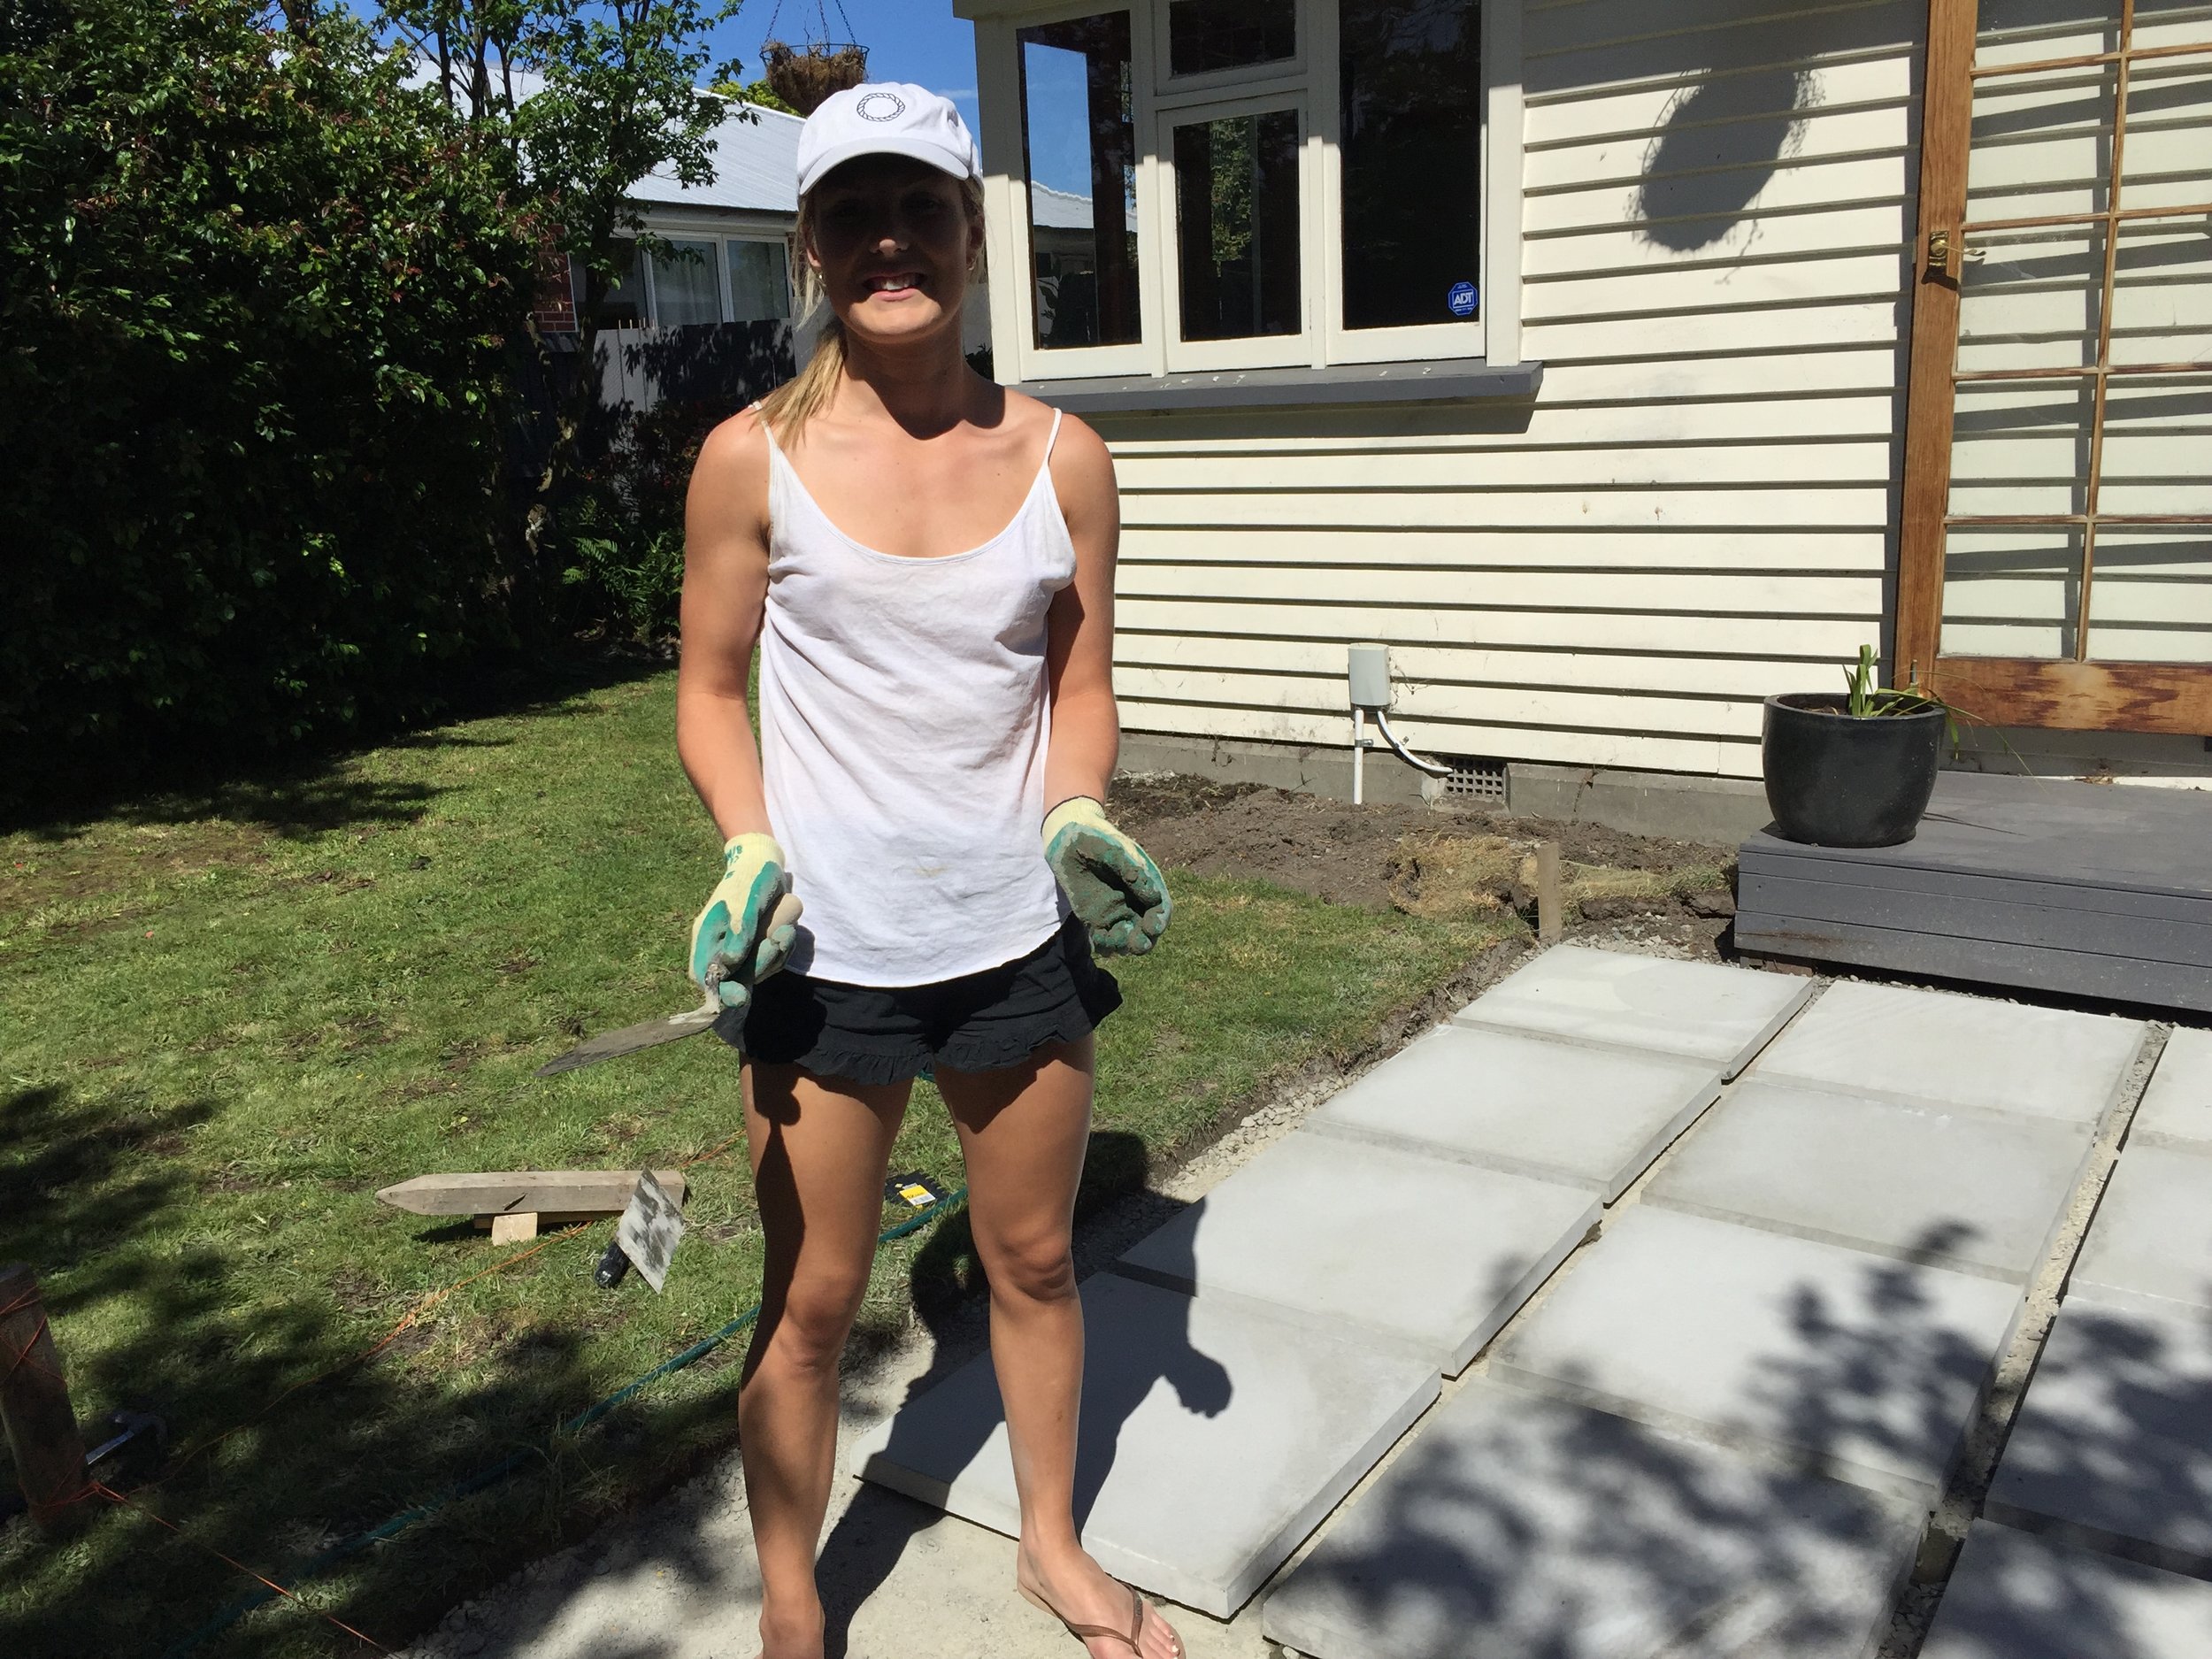
Fill the gaps with stones, we went for small Canterbury river stones
Clean and enjoy your new transformed space
It’s seriously as easy as that!!
Table – Bunnings
Pots – Bunnings
Plants – Bunnings
Pavers – Urban Paving
Stones – Parkhouse Garden Supplies
Outdoor Candle – Citta
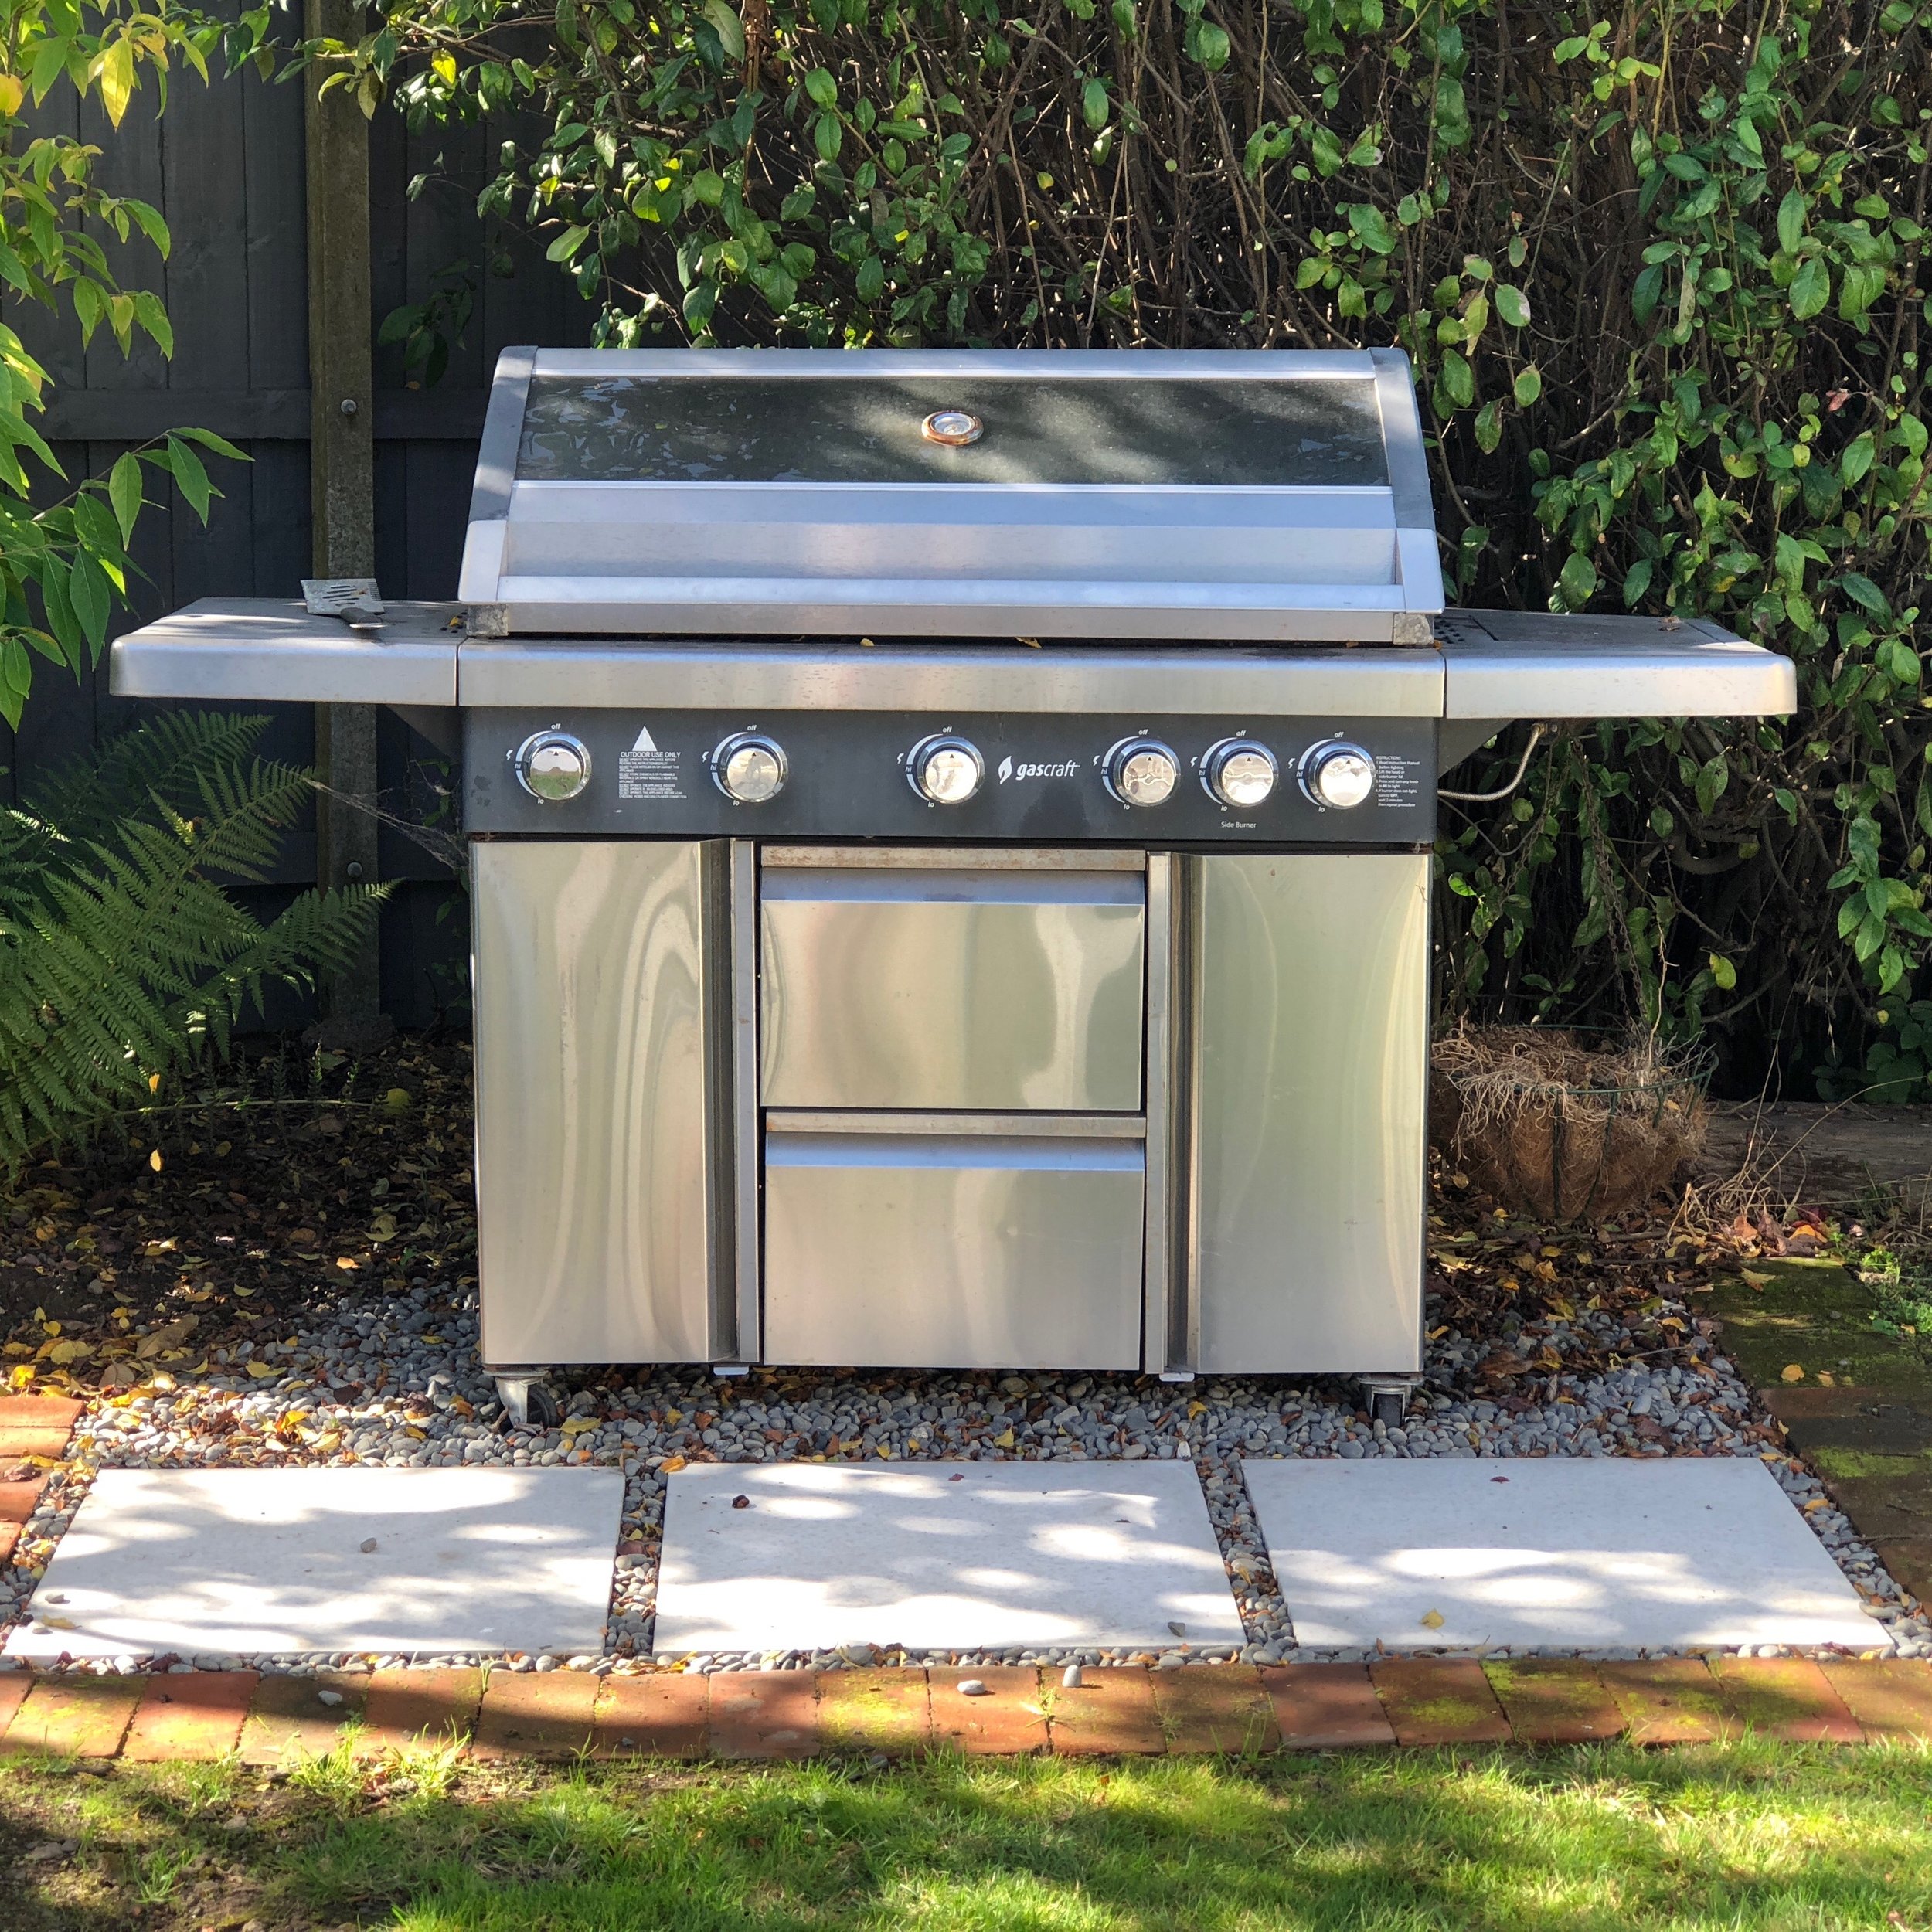
BBQ – The Warehouse
Total Cost - $900 (materials)
Any other questions, sing out! J&S x